How to Add Signature in Gmail ?
|
 Google
|
Google
|
1 month ago
|
11 Steps
Adding a signature in Gmail enhances your emails with a professional touch and provides essential contact details or branding. A signature appears automatically at the end of your emails and can include your name, job title, company, phone number, website, or even a logo. It helps recipients identify you easily and reinforces your personal or business identity. Whether for formal communication or casual use, having a consistent email signature improves credibility and saves time. Gmail allows you to create multiple signatures for different purposes, making it a flexible tool for both work and personal correspondence. A well-crafted signature leaves a lasting impression.
How to Add Signature in Gmail ?
|
Google
|
11 Steps

1
2
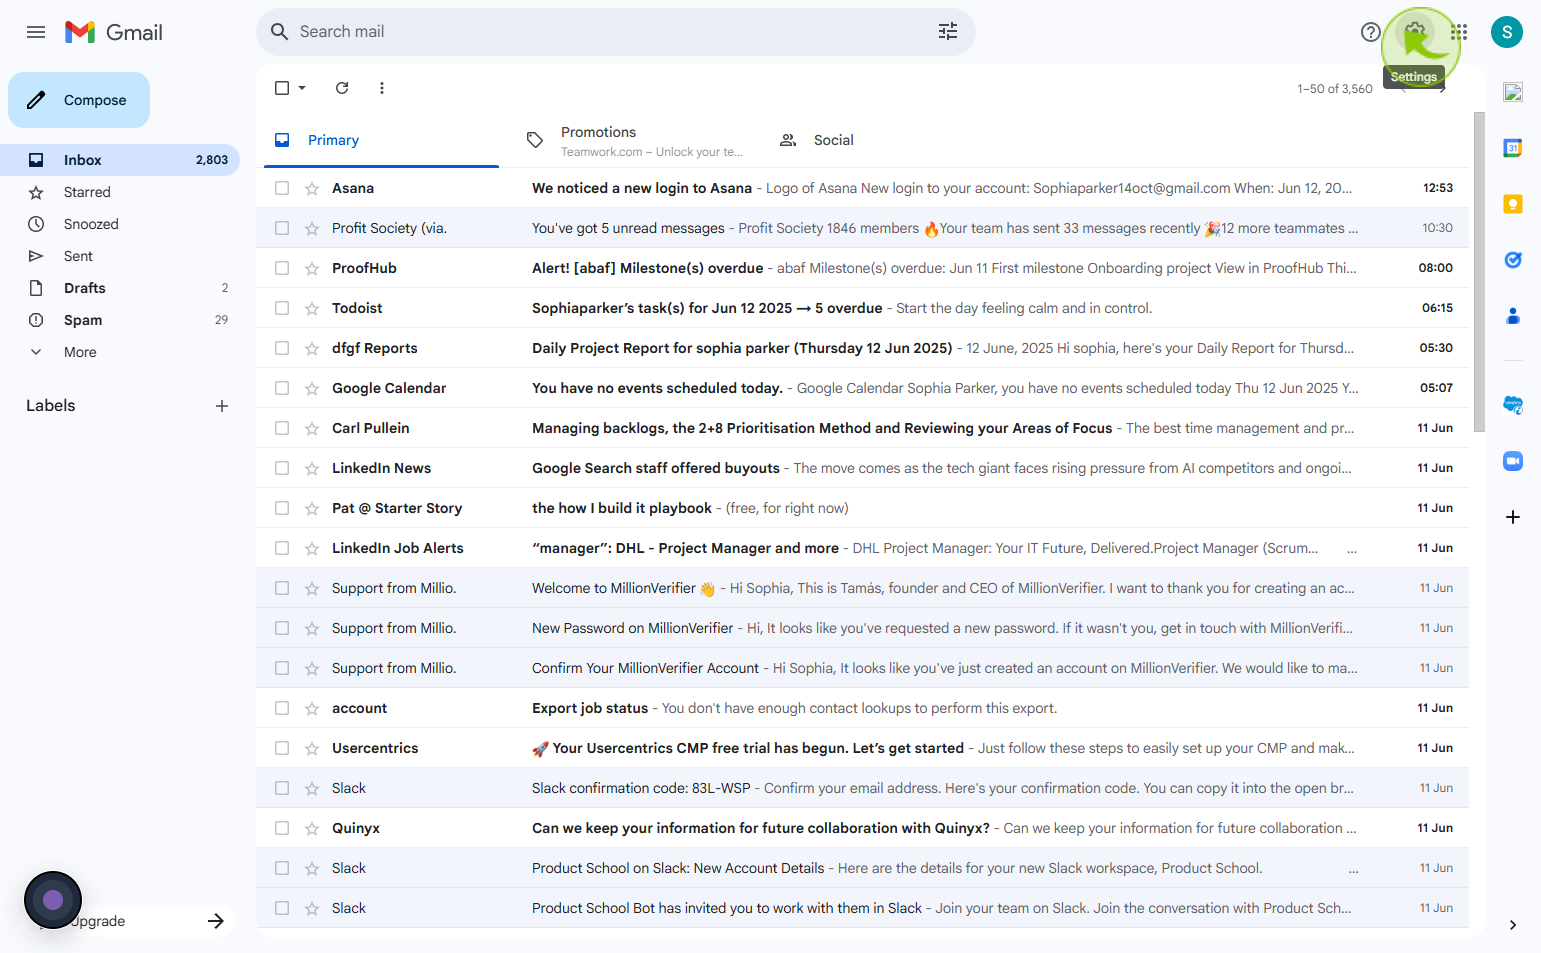
Click the Settings in the top right.
Go to Settings in the top right corner.
3
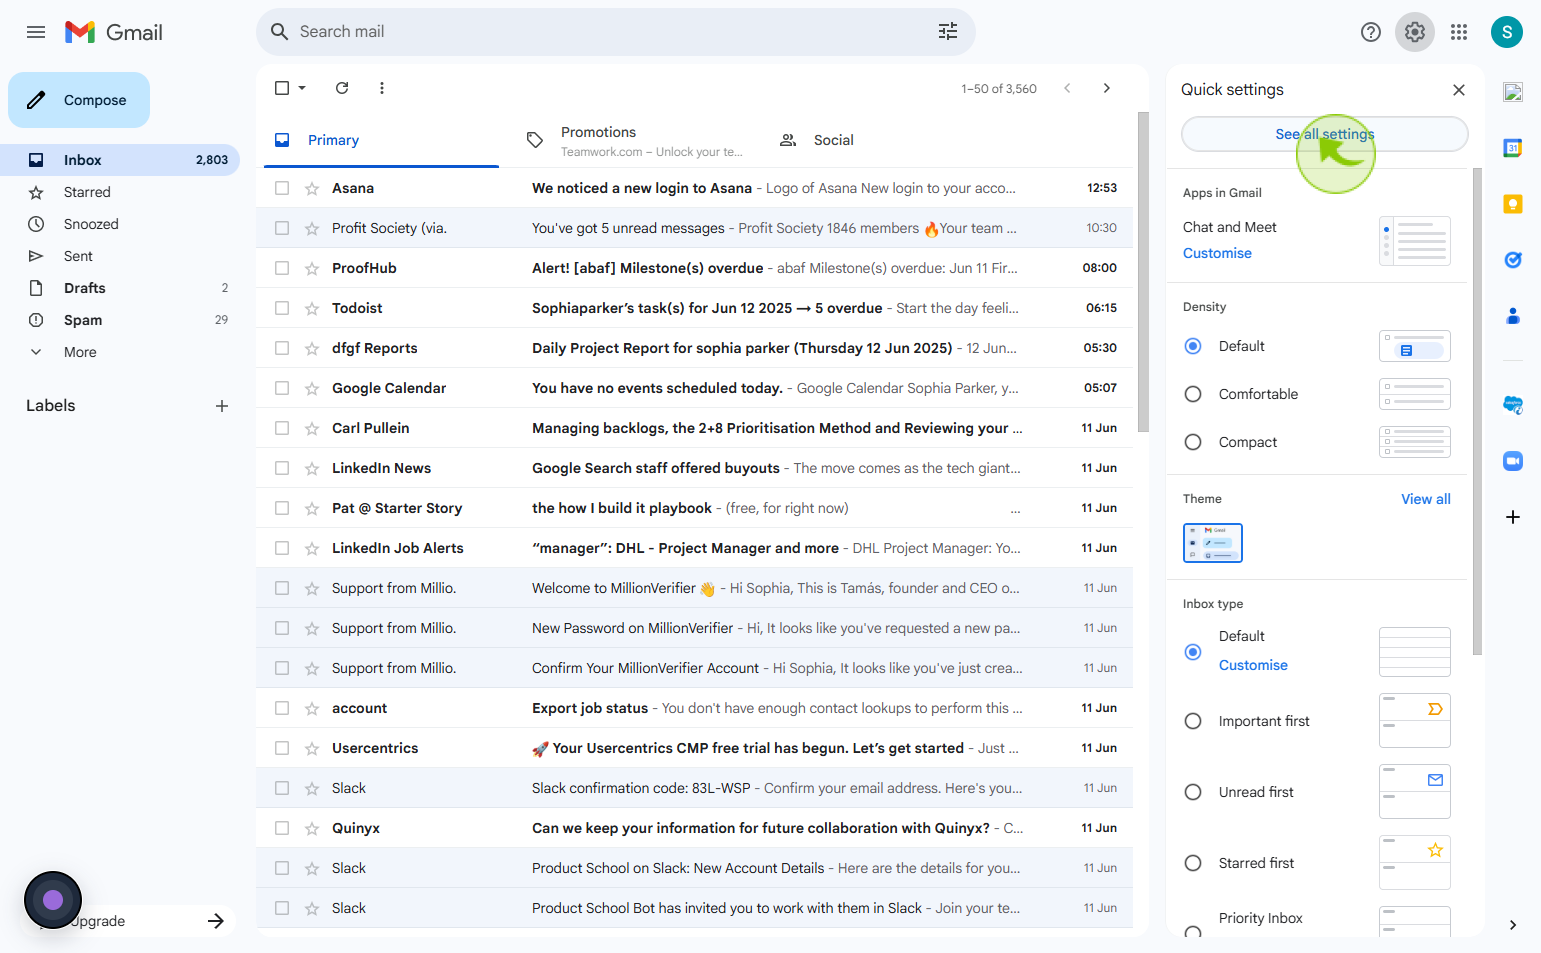
Click "See all settings"
4
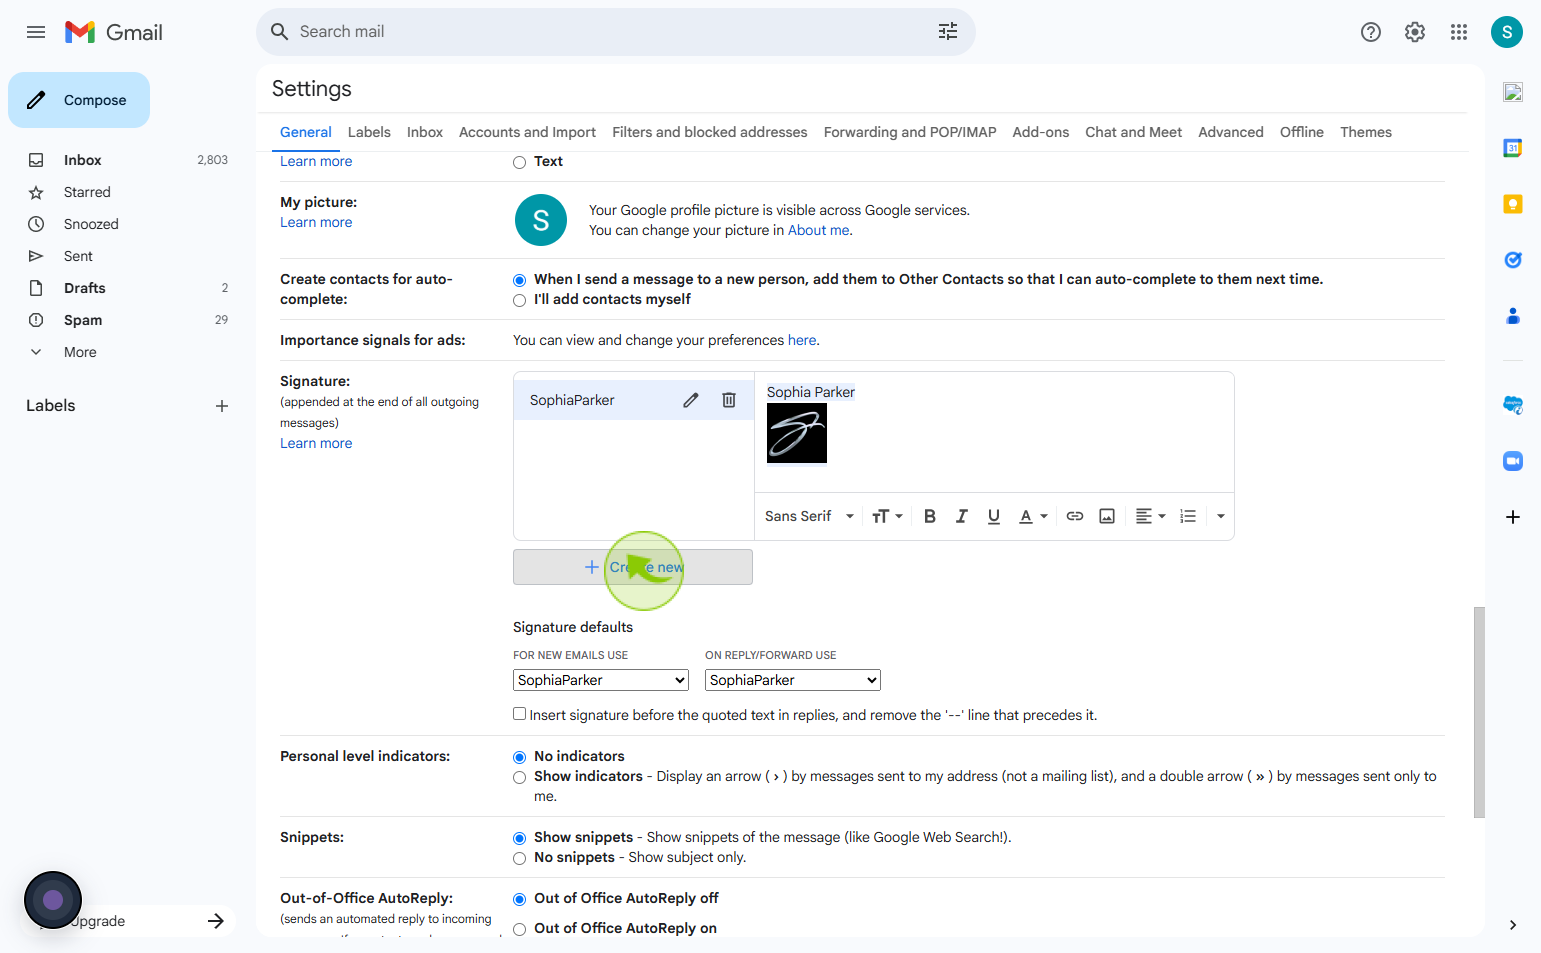
Click "Create new"
Tap Create New to add a custom email signature
5
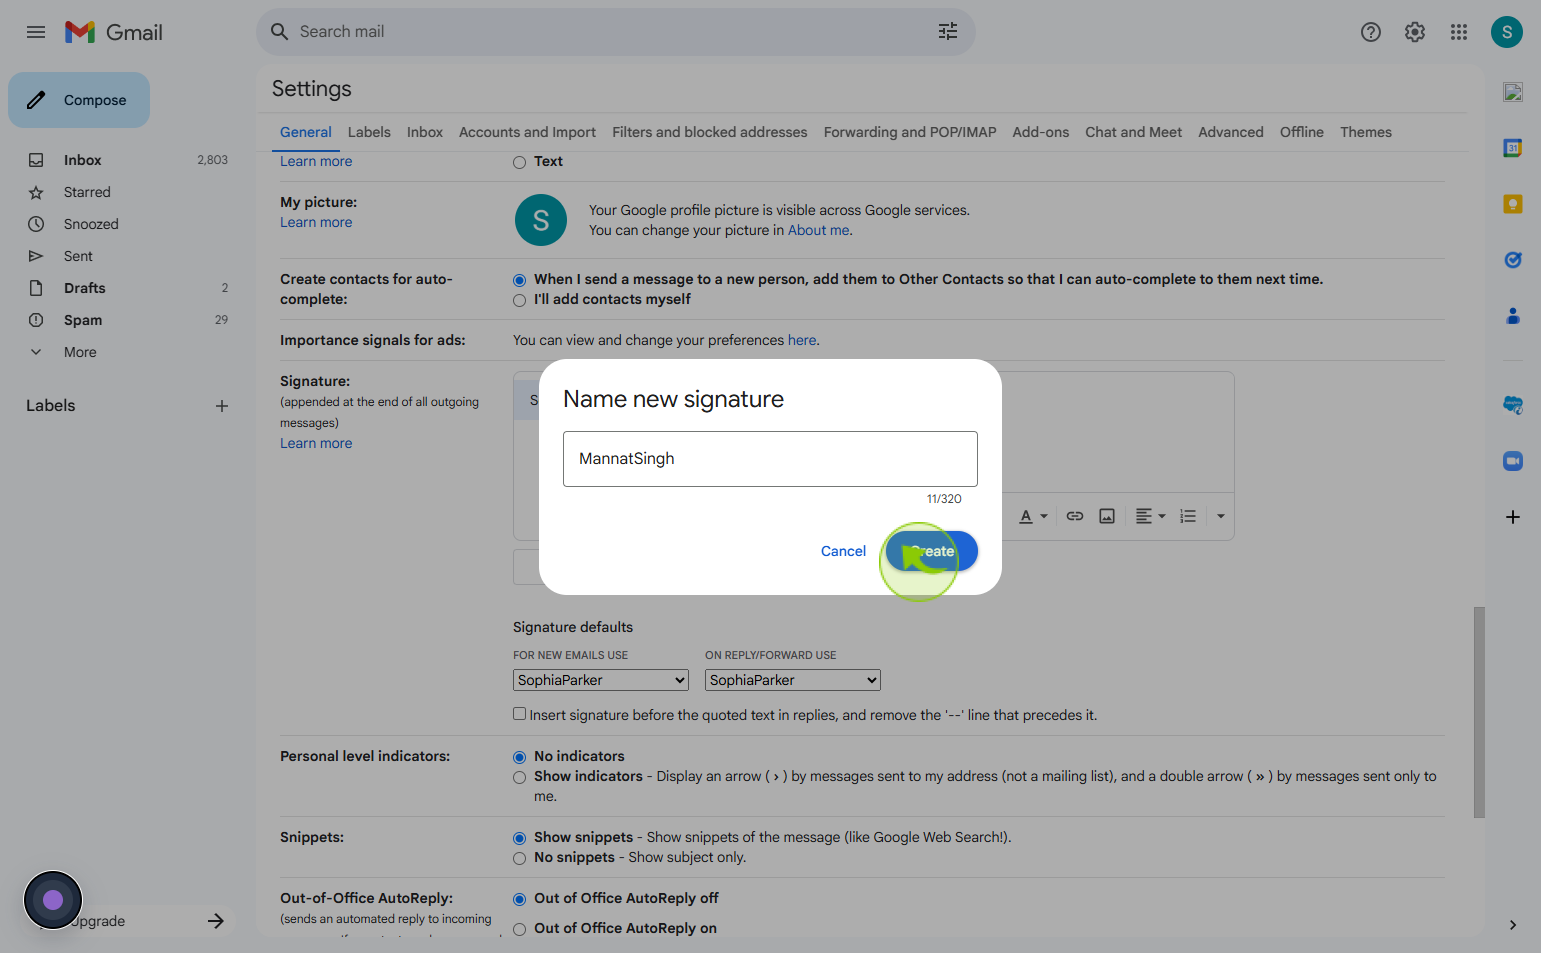
Click the "Signature name" field
Enter your signature name

6
Click on the "Create"
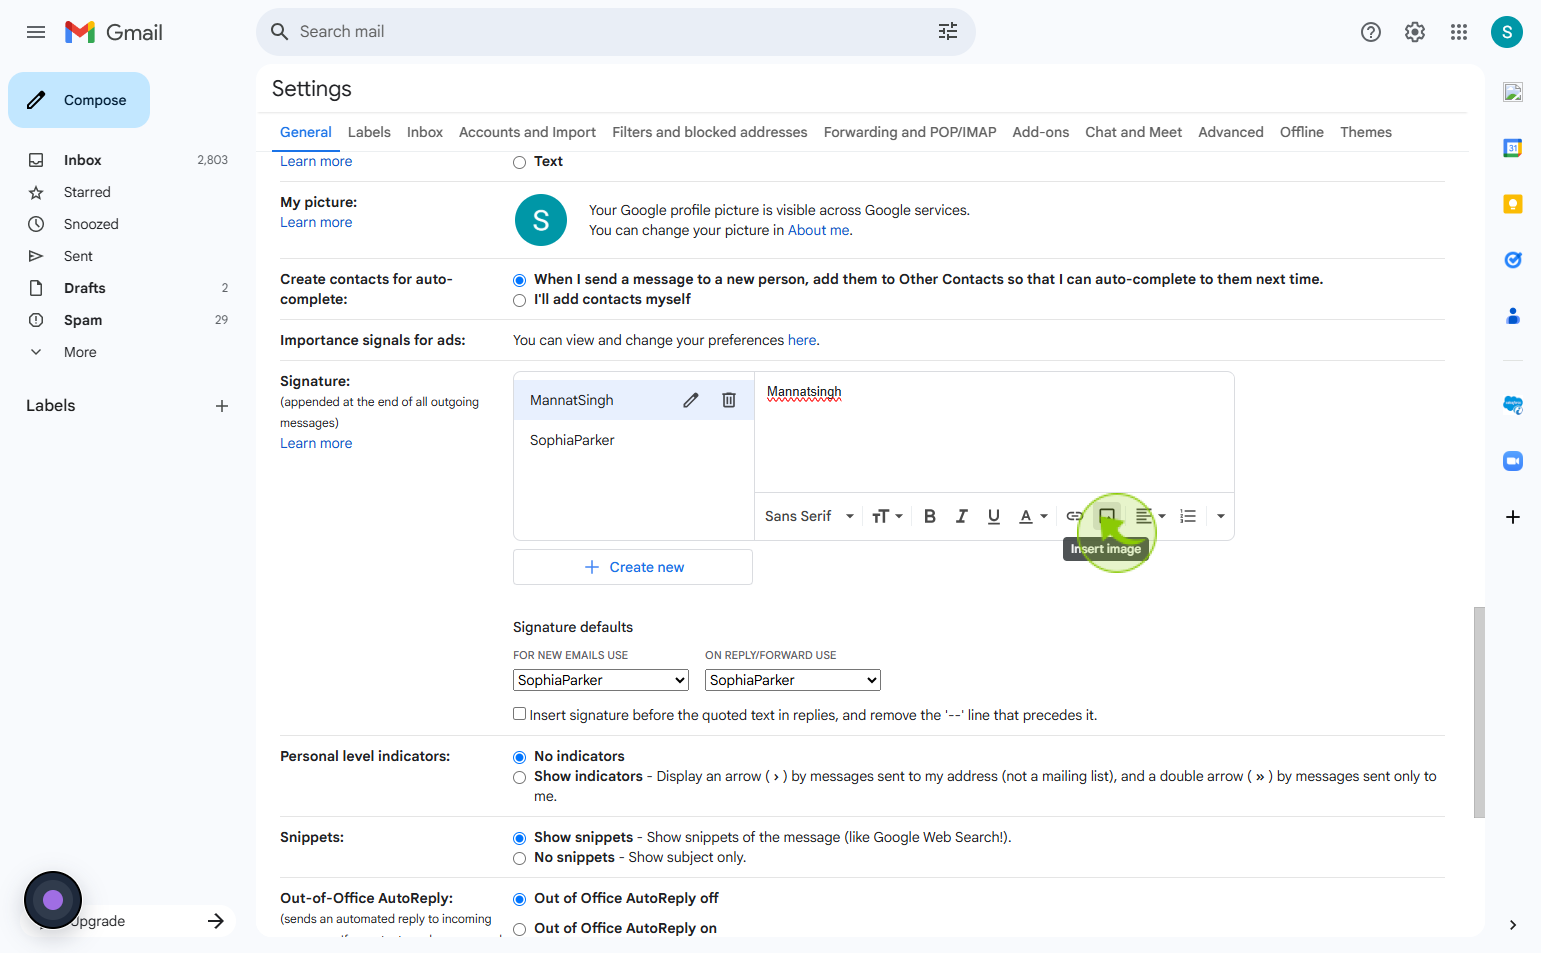
7
Click on the "Insert image"
Select Insert Image and adjust other formatting options as needed.
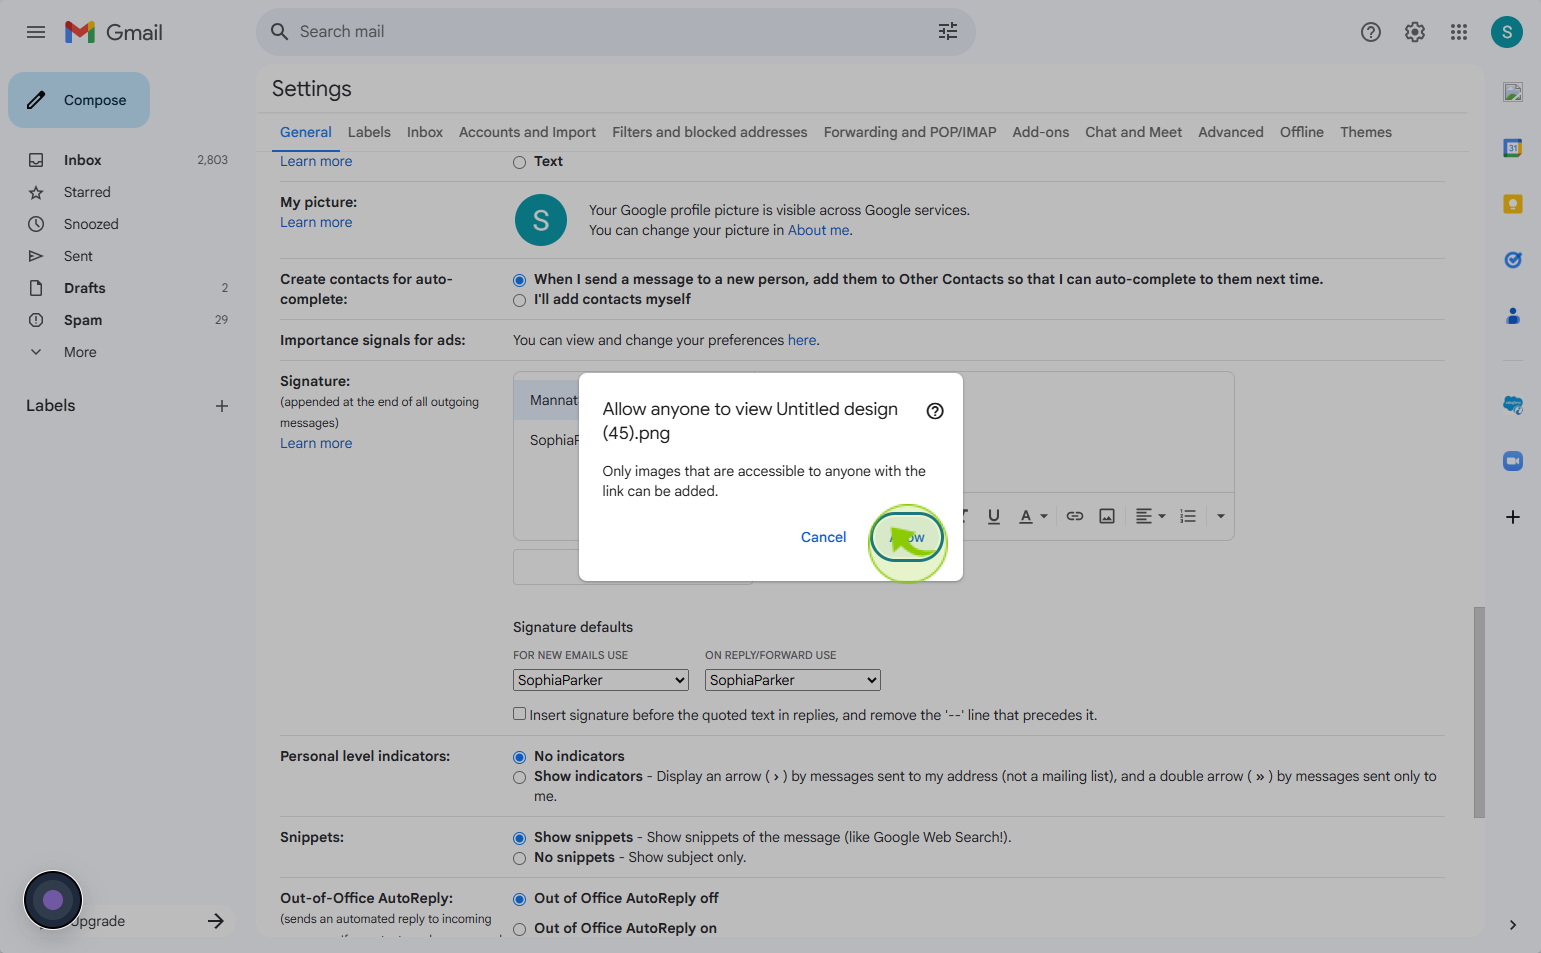
8
Click on the "Allow"
9
Click on the "For new emails use" dropdown
Tap For new emails use to set your default choice
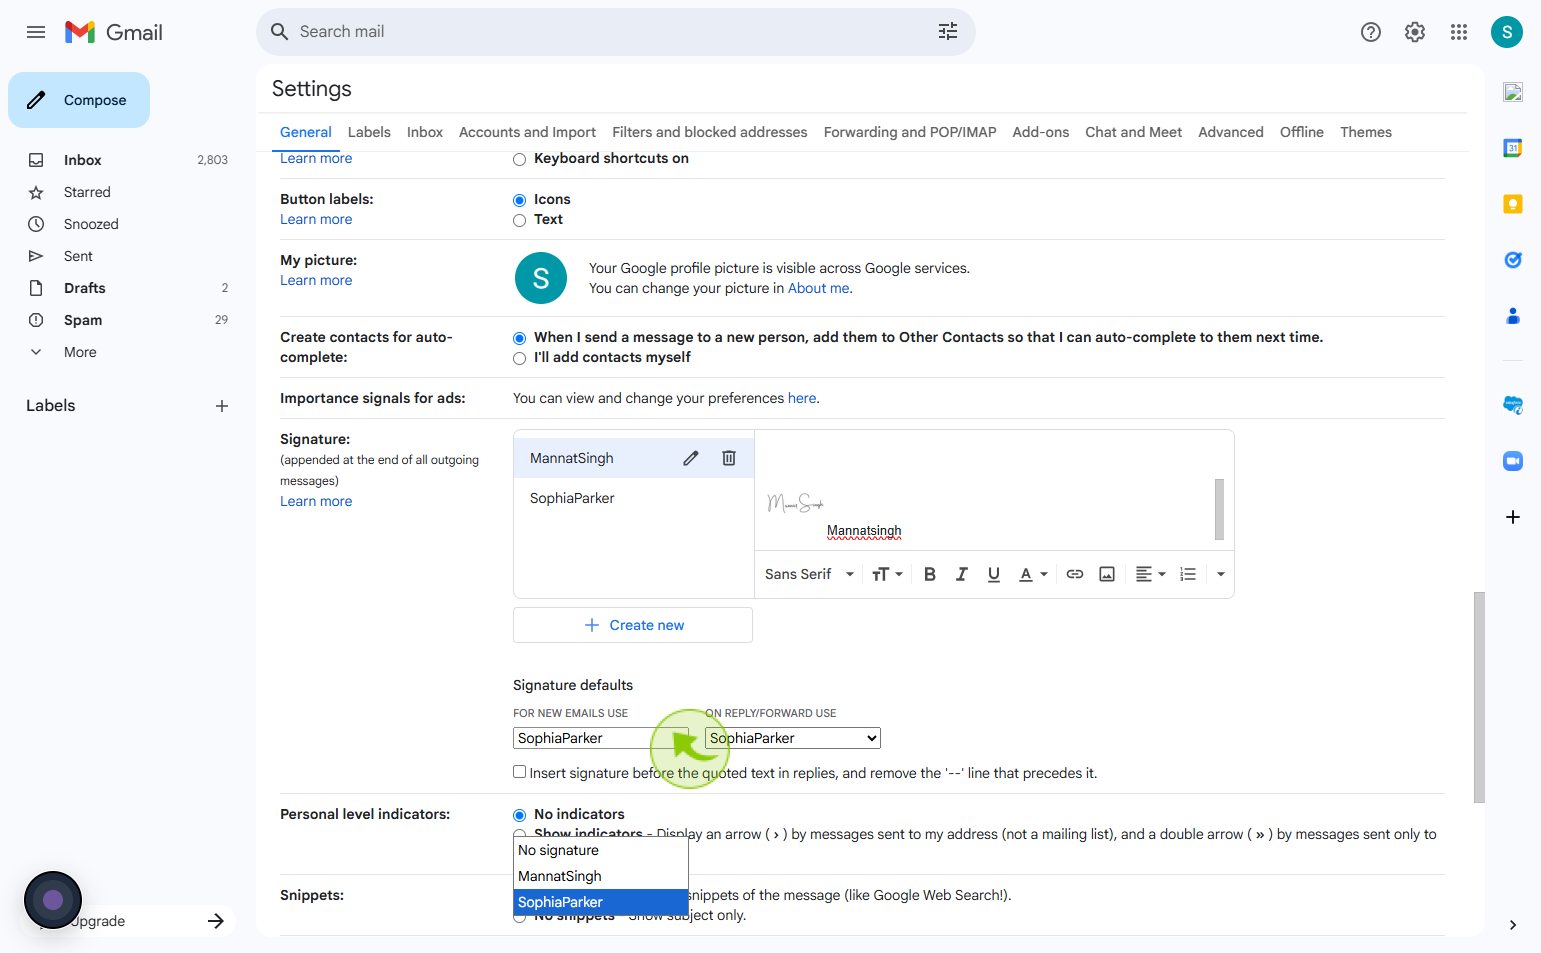
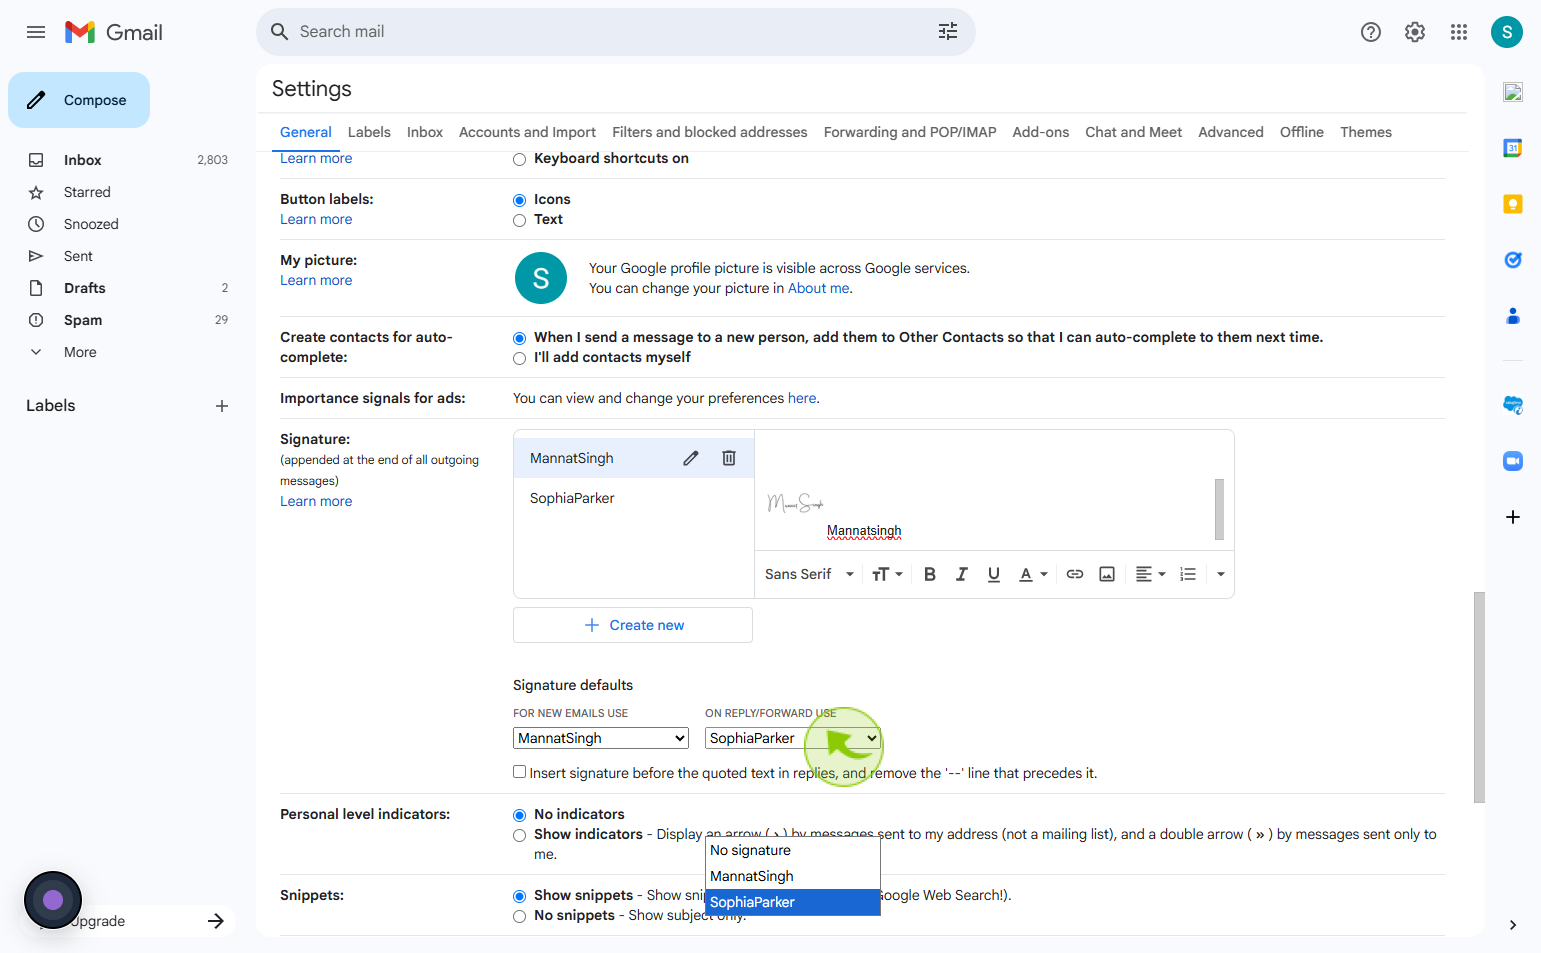
10
Click on the "On reply & forward use" dropdown
Choose On reply & forward use from the dropdown to modify your selection.
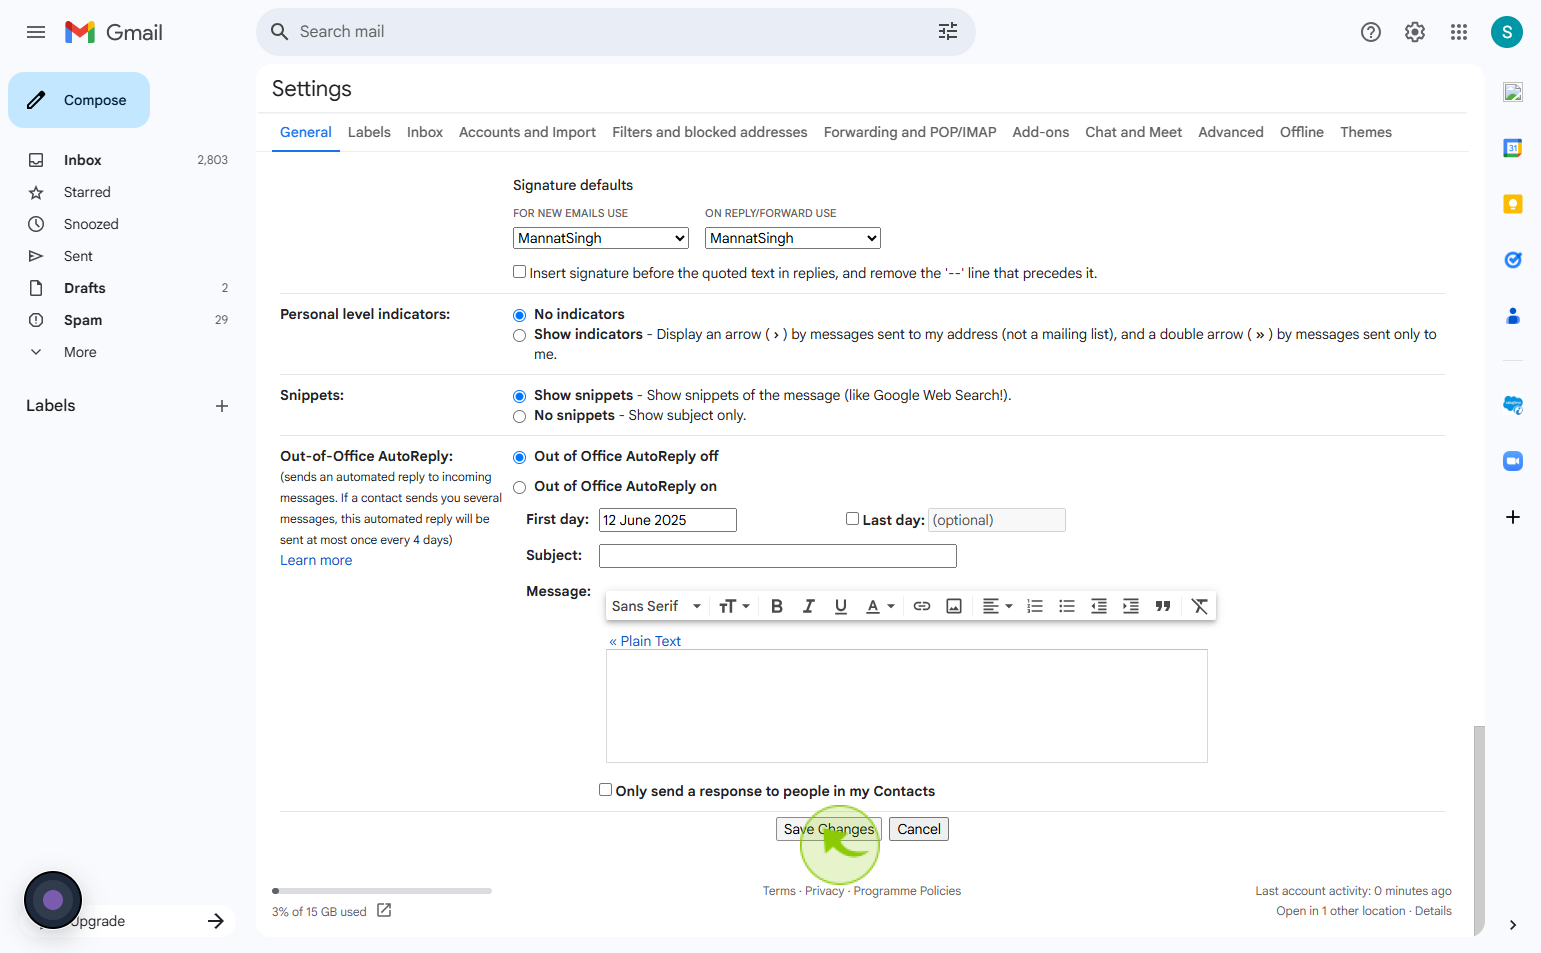
11
Click on the "Save Changes"
Tap Save Changes to confirm your modifications.