How to add products to your Shopify store ?
|
 Shopify
|
Shopify
|
0 months ago
|
20 Steps
Adding products to your Shopify store is essential for showcasing what you offer to potential customers. This process involves uploading detailed product information, including titles, descriptions, images, pricing, and inventory levels. You can also define shipping options, product variants like size or color, and categorize items into collections to improve navigation. Shopify’s user-friendly interface makes it easy to manage and update products as needed. Properly adding and organizing products ensures a smooth shopping experience for visitors, boosts discoverability, and enhances your store’s professionalism. This step lays the foundation for selling effectively and building a successful eCommerce presence.
How to add products to your Shopify store ?
|
Shopify
|
20 Steps

1
Navigate to https://admin.shopify.com/store/urusni-00
2
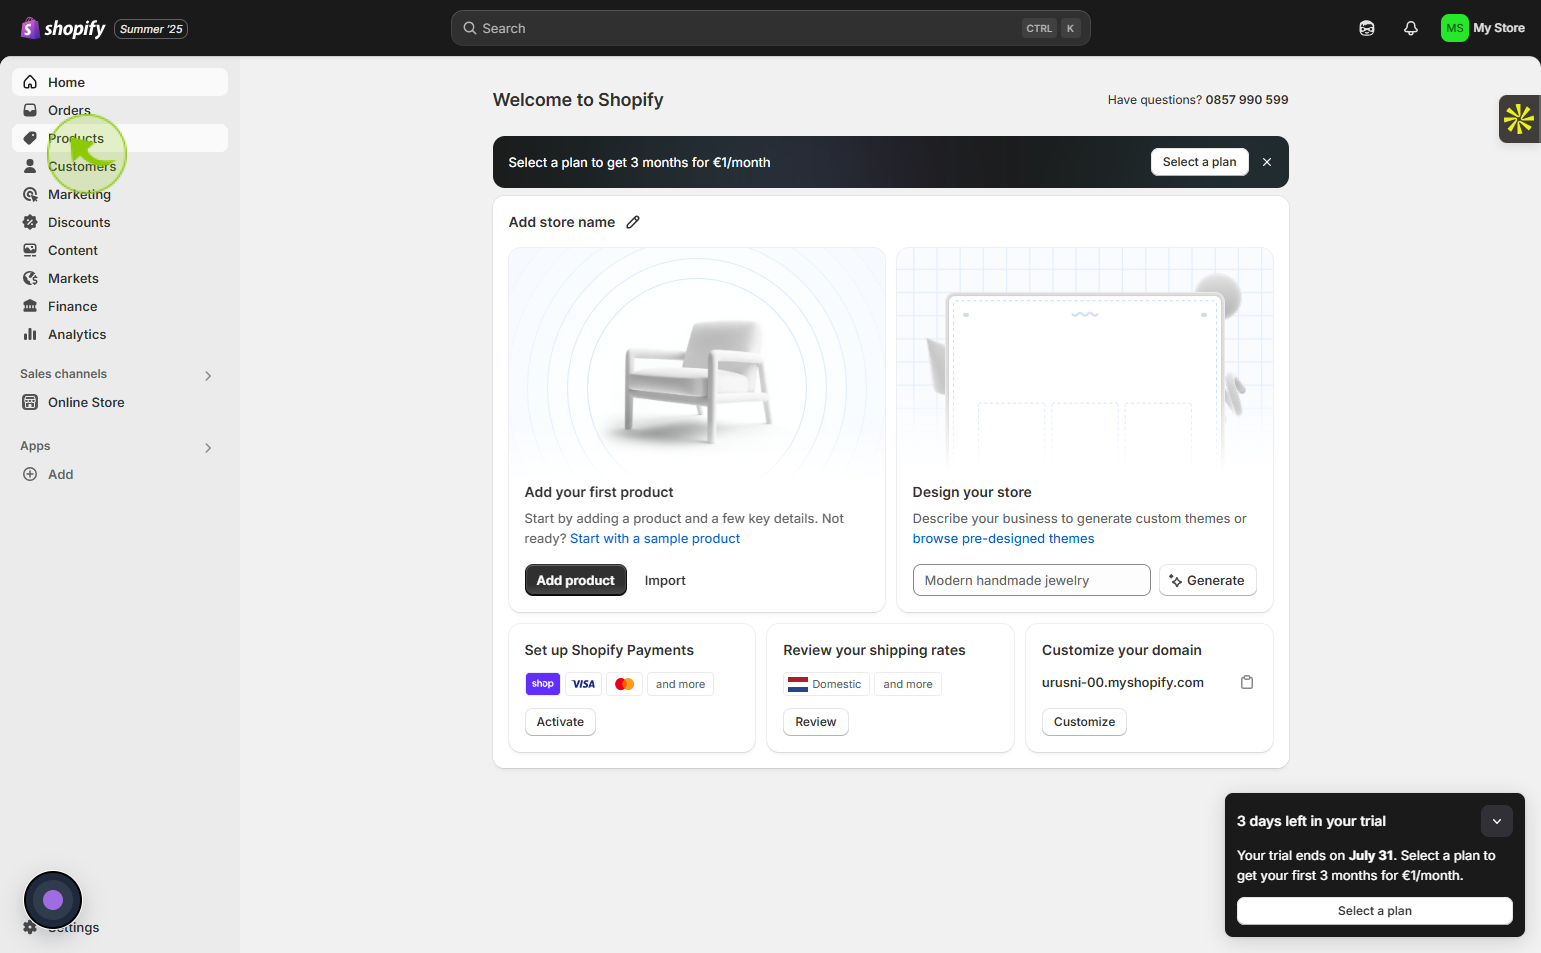
Click on the "Home"
Choose Home to access your dashboard.

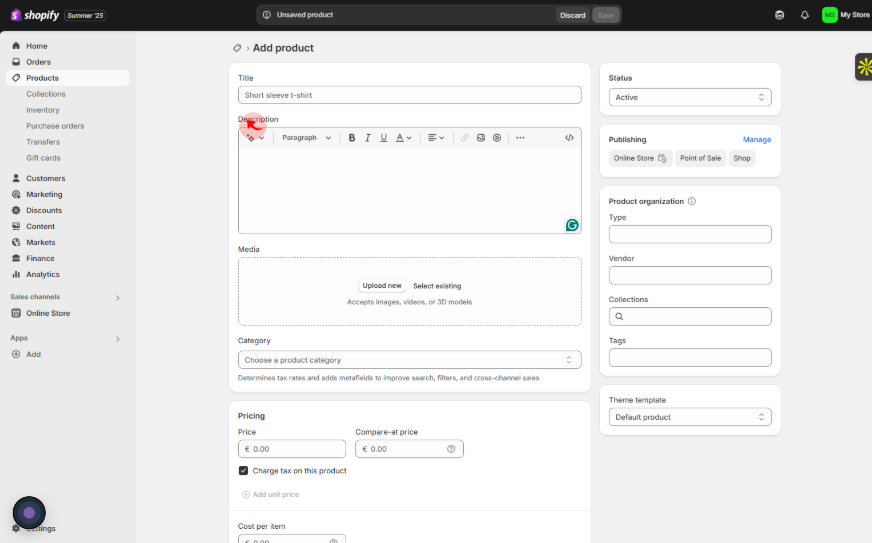
3
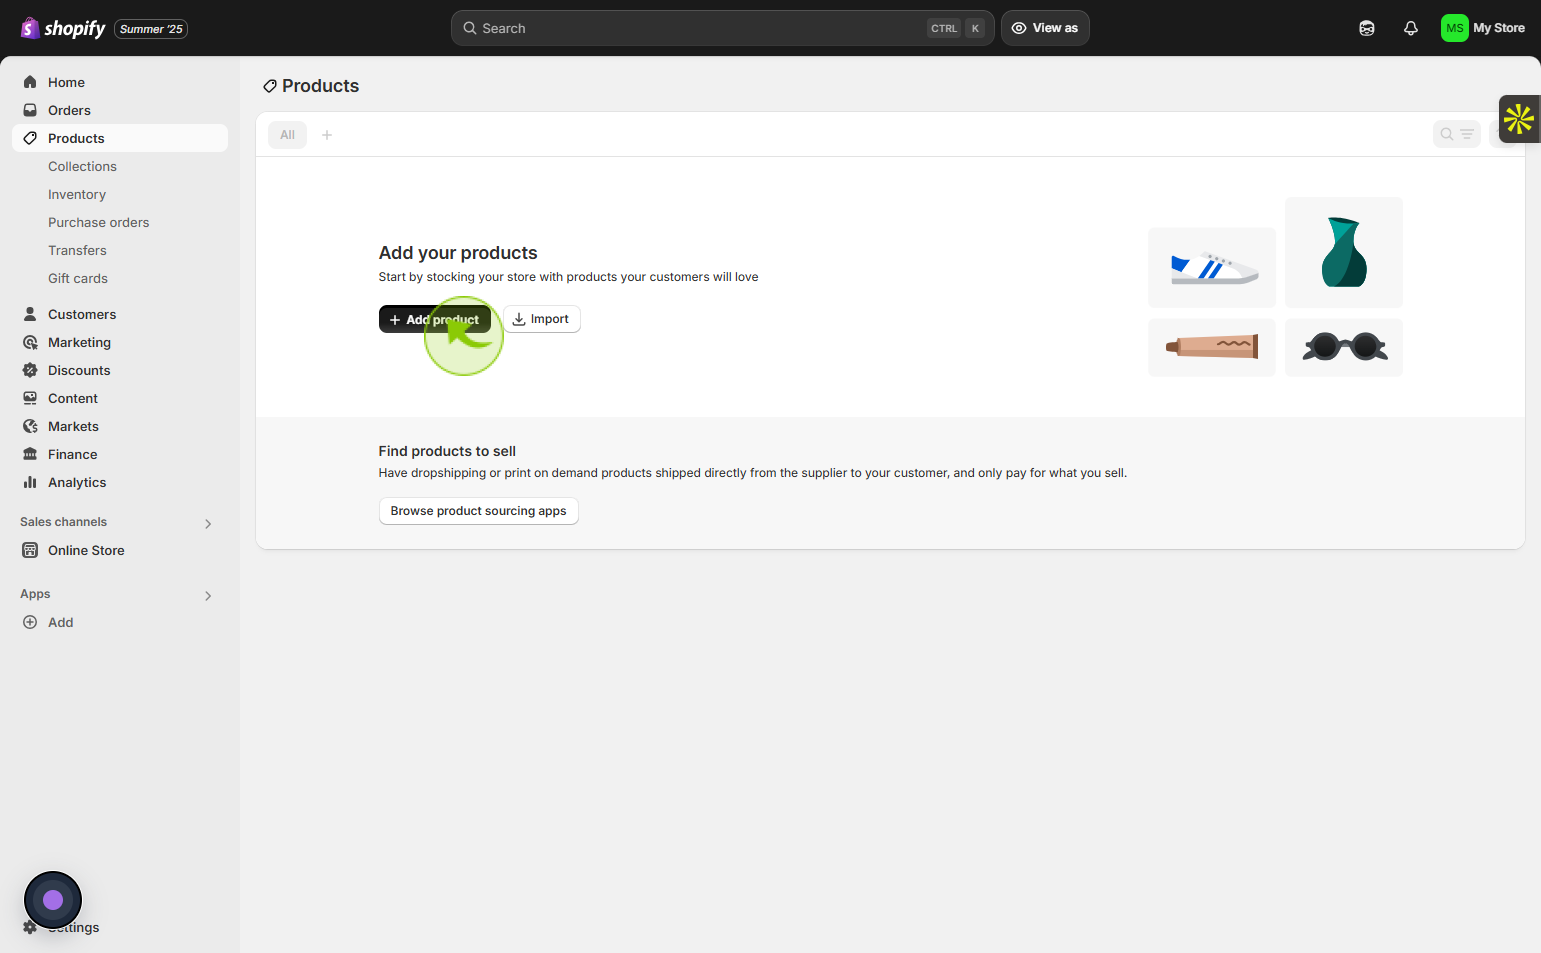
Click on the "Products"
Access the Products dashboard to oversee all listings and stock information.
4
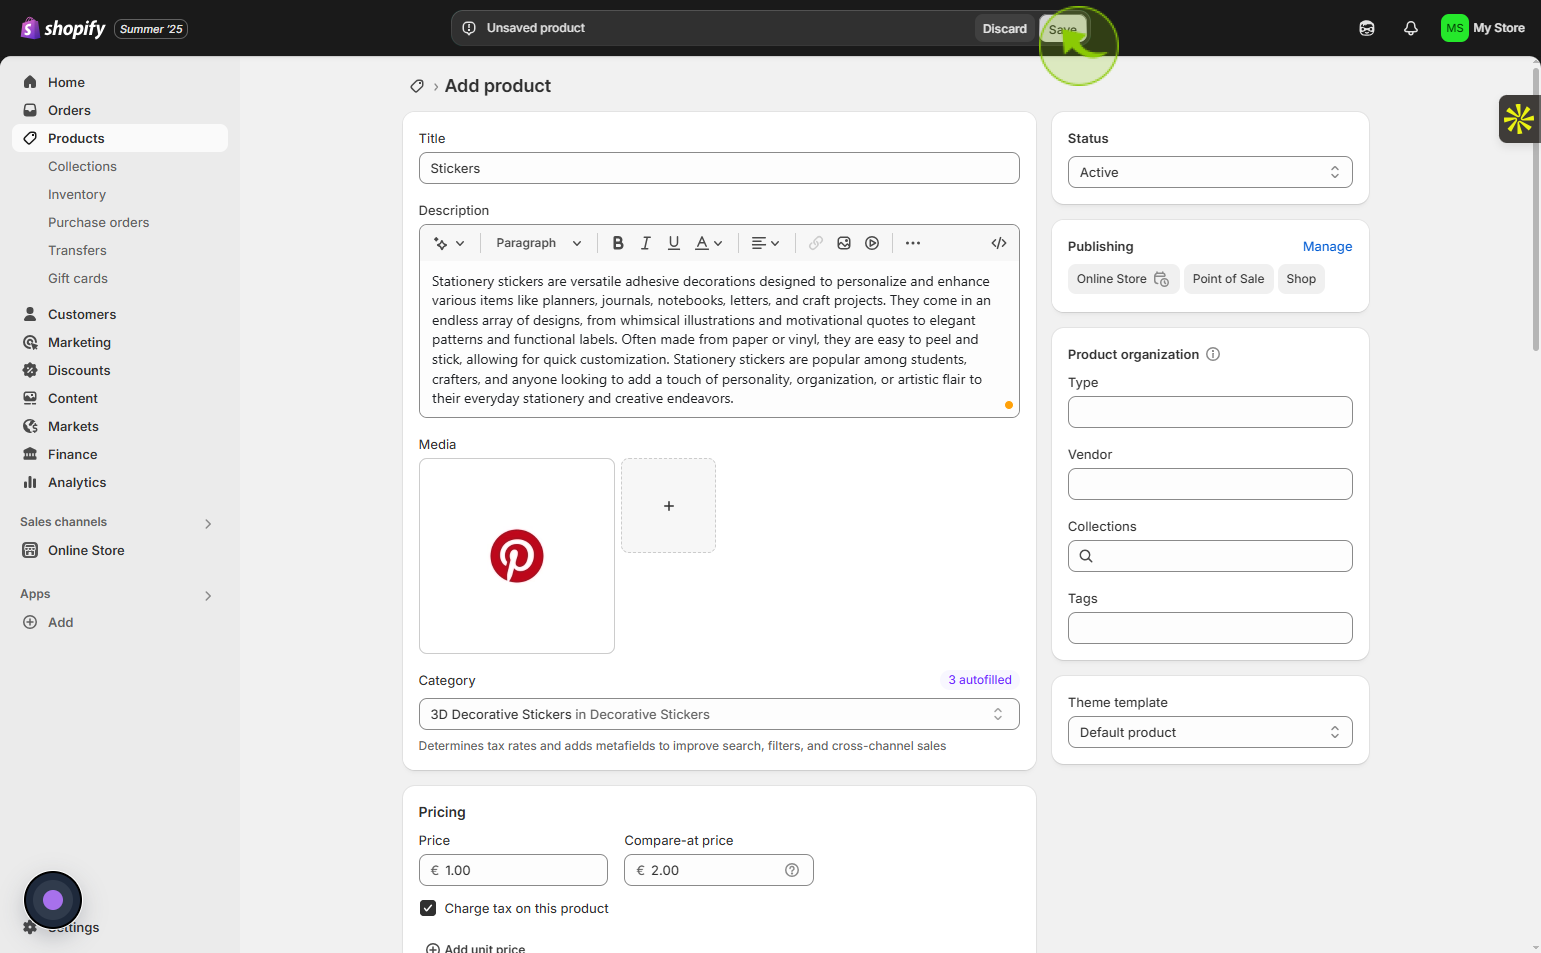
Click on the "Add product"
Tap on Add product to upload a new item to your store’s catalog.
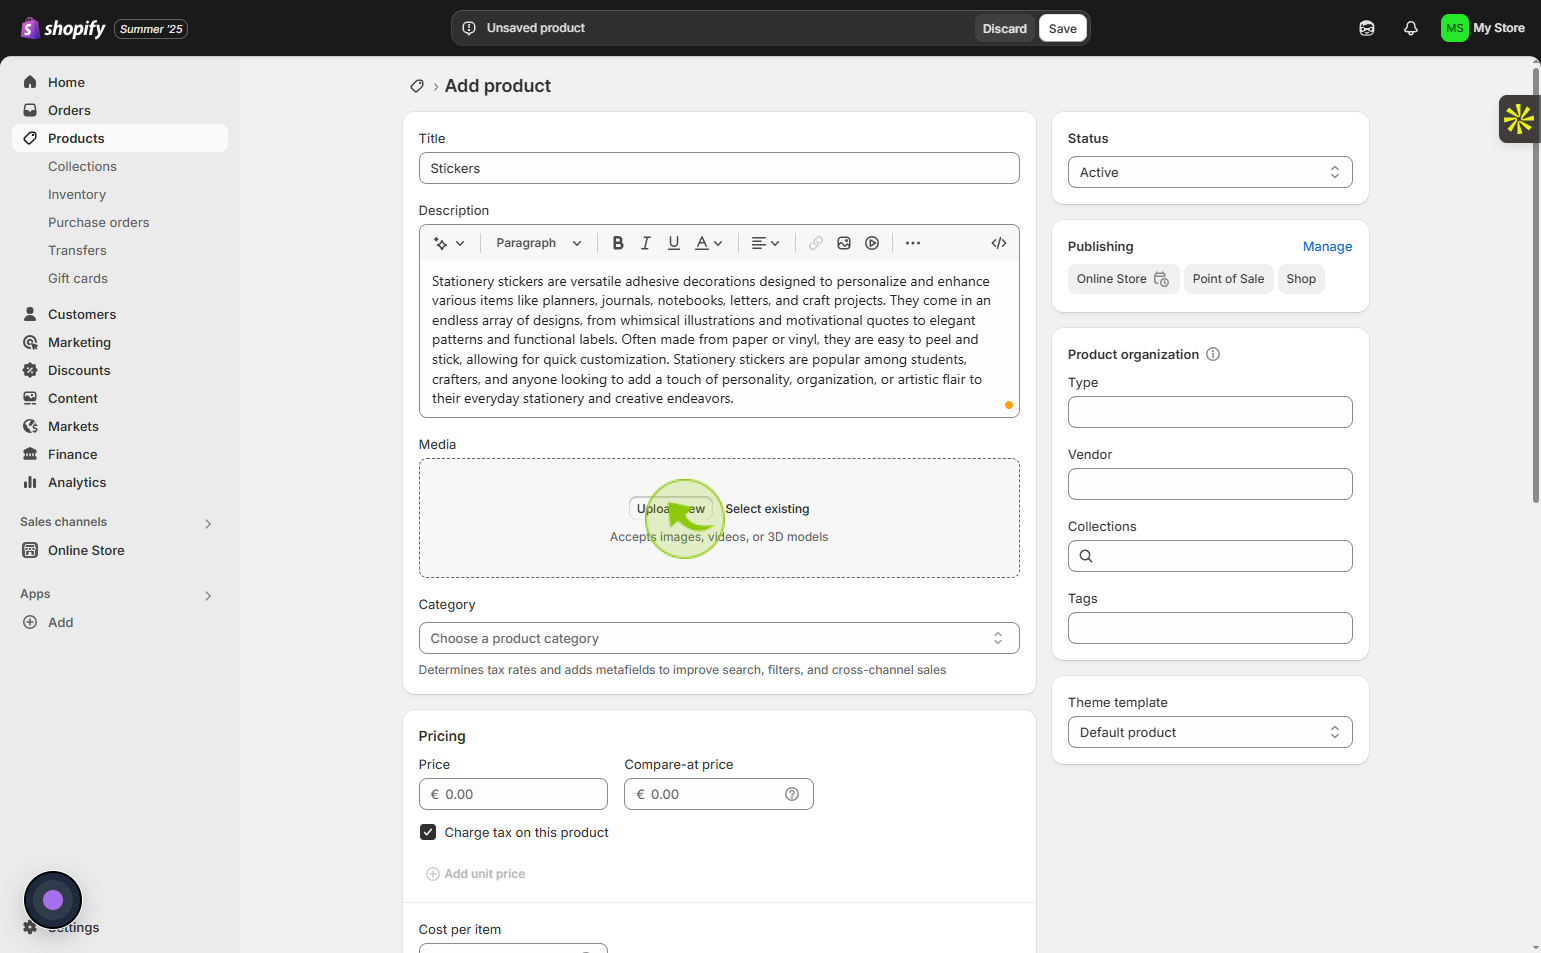
5
Click on the "Title" field
Enter your product name by selecting the Title field.
6
Click on the "Description"
Enter a clear and engaging description to showcase your product effectively.
7
Click on the "Upload new"
Browse and upload a new picture for your product.
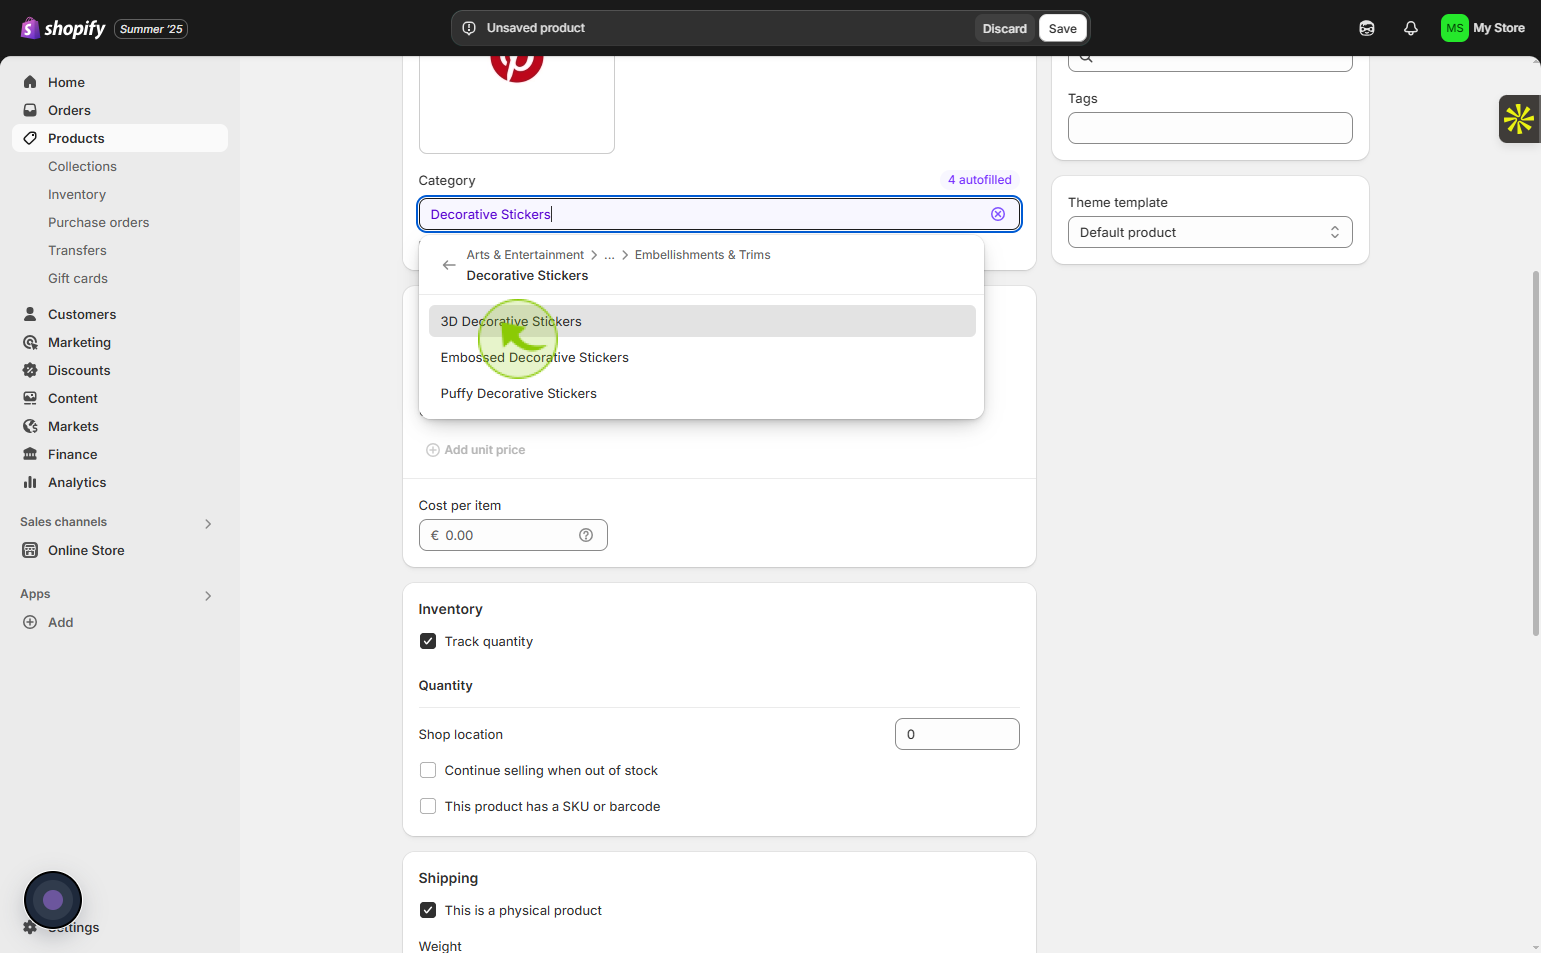
8
Click on the "Category"
Tap the Category option to organize your product under the correct section.
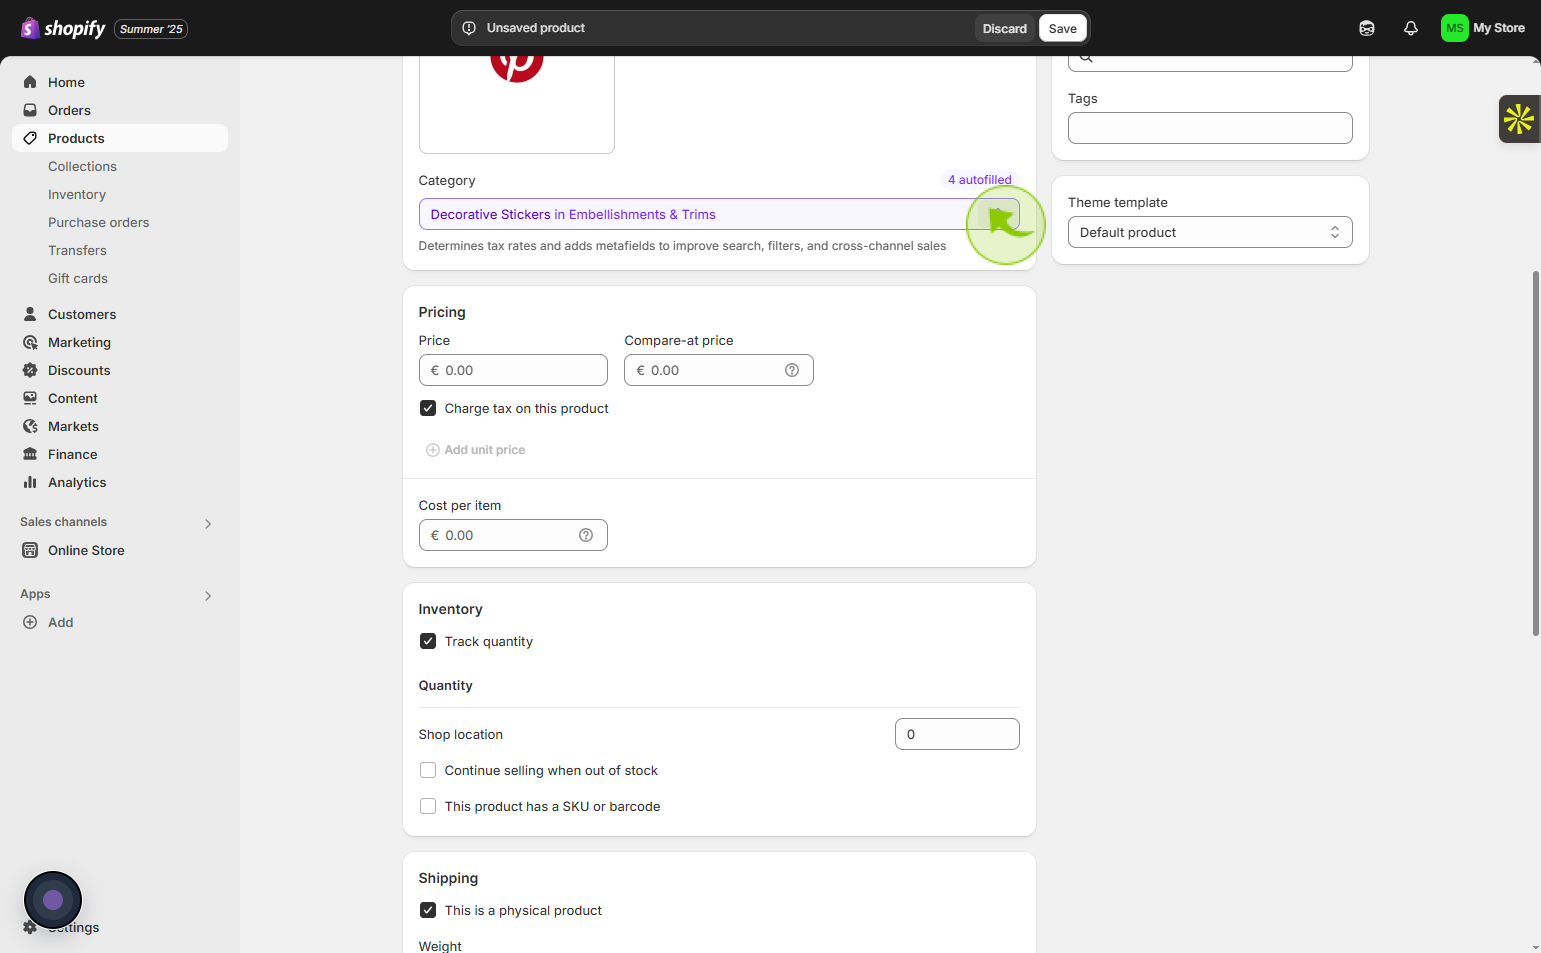
9
Click on the "3D Decorative Stickers"
Choose your product category
10
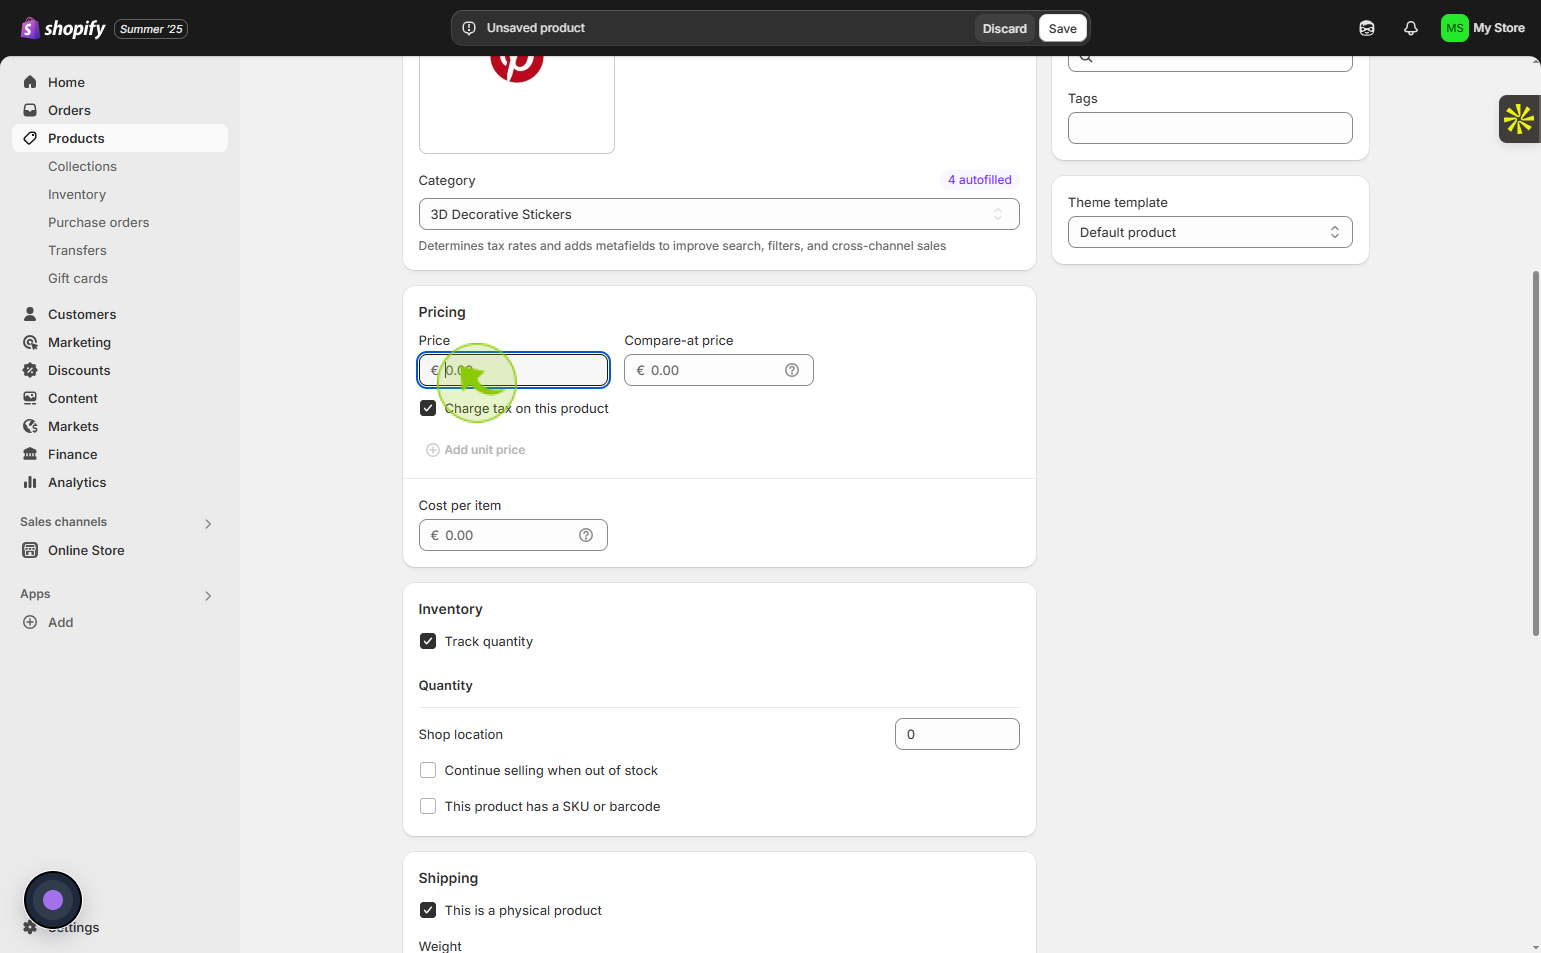
Click on the "Pricing" field
Enter the retail price, comparison price, and cost price reflecting the true worth of your product.
11
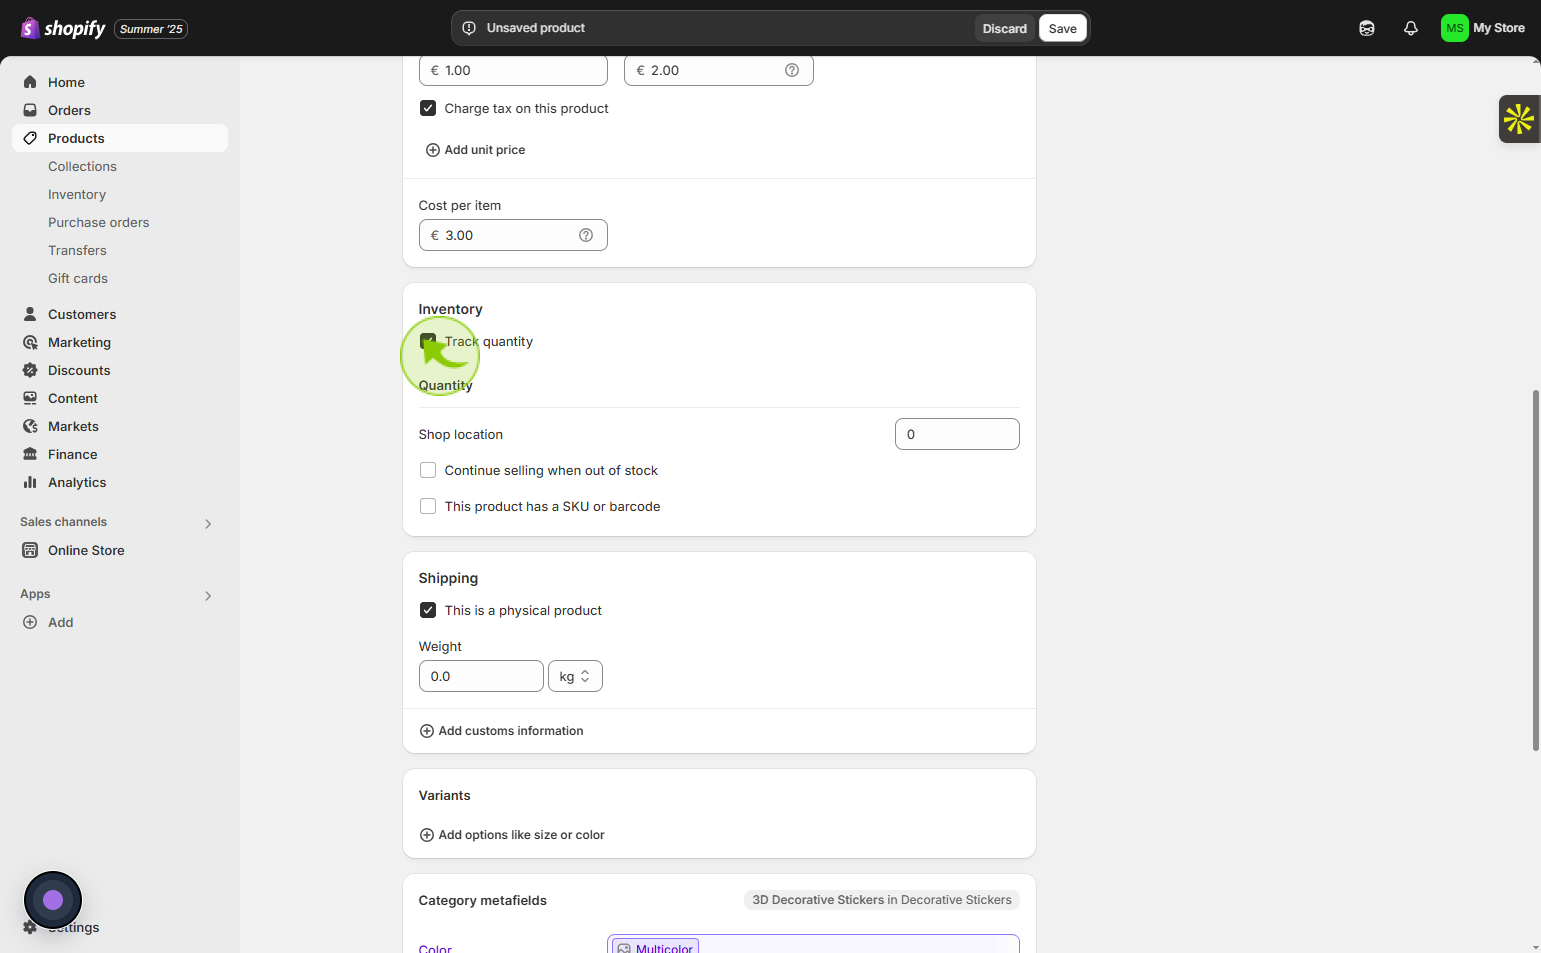
Click on the "Track quantity" checkbox
Check the Track quantity box to activate quantity tracking for this item.
12
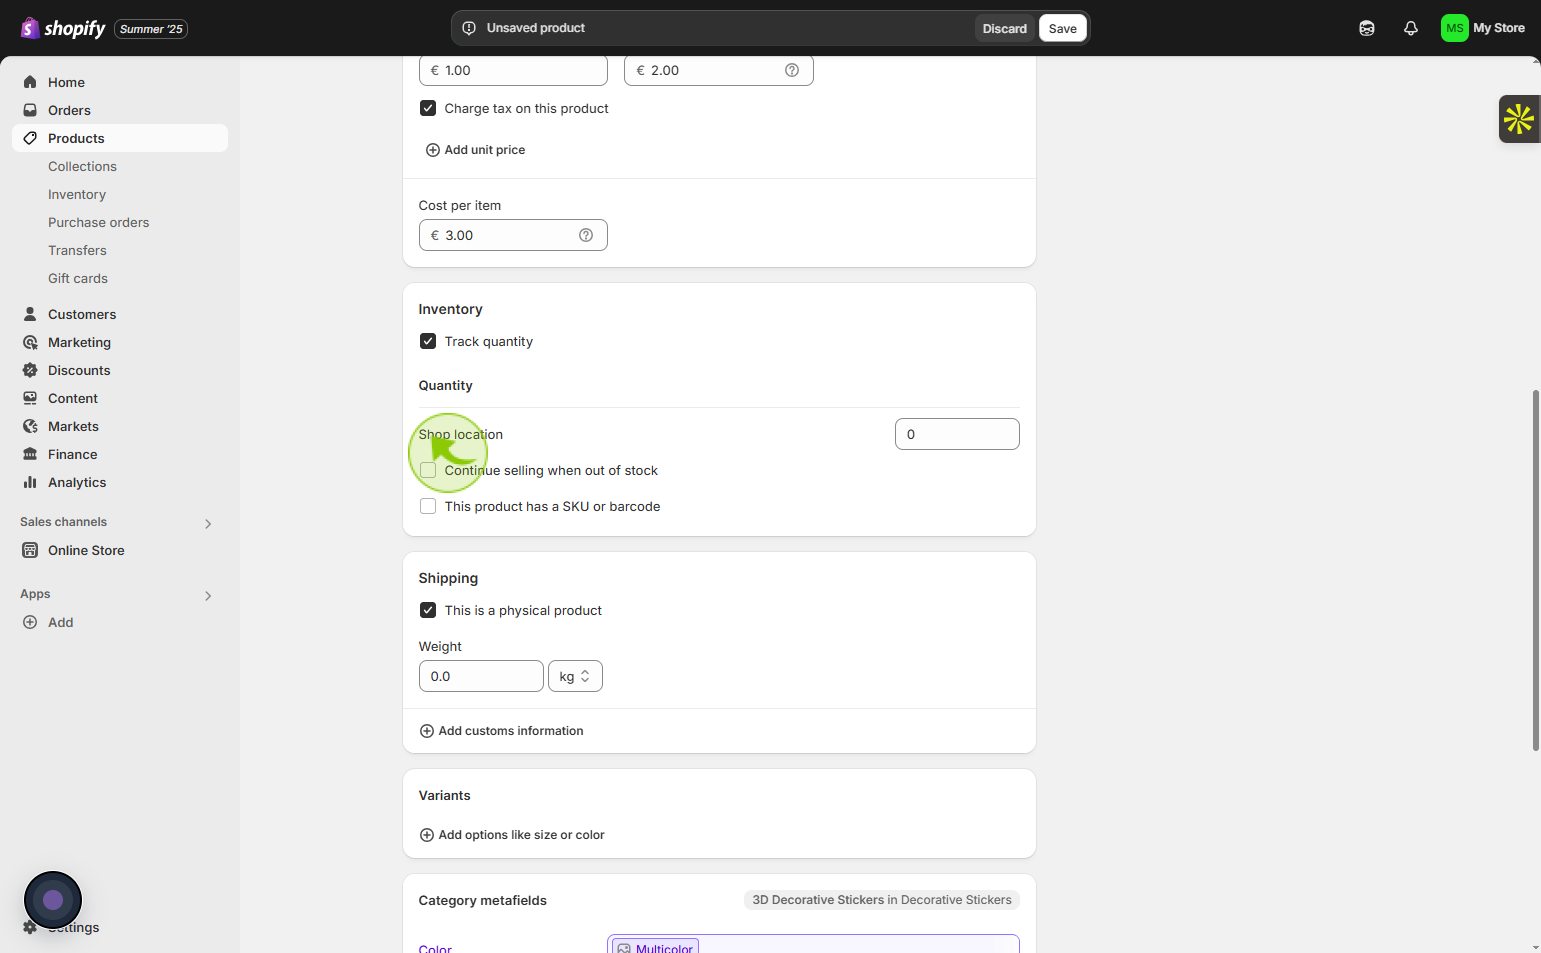
Click on the "Shop location"
Option to enter your business location details.
13
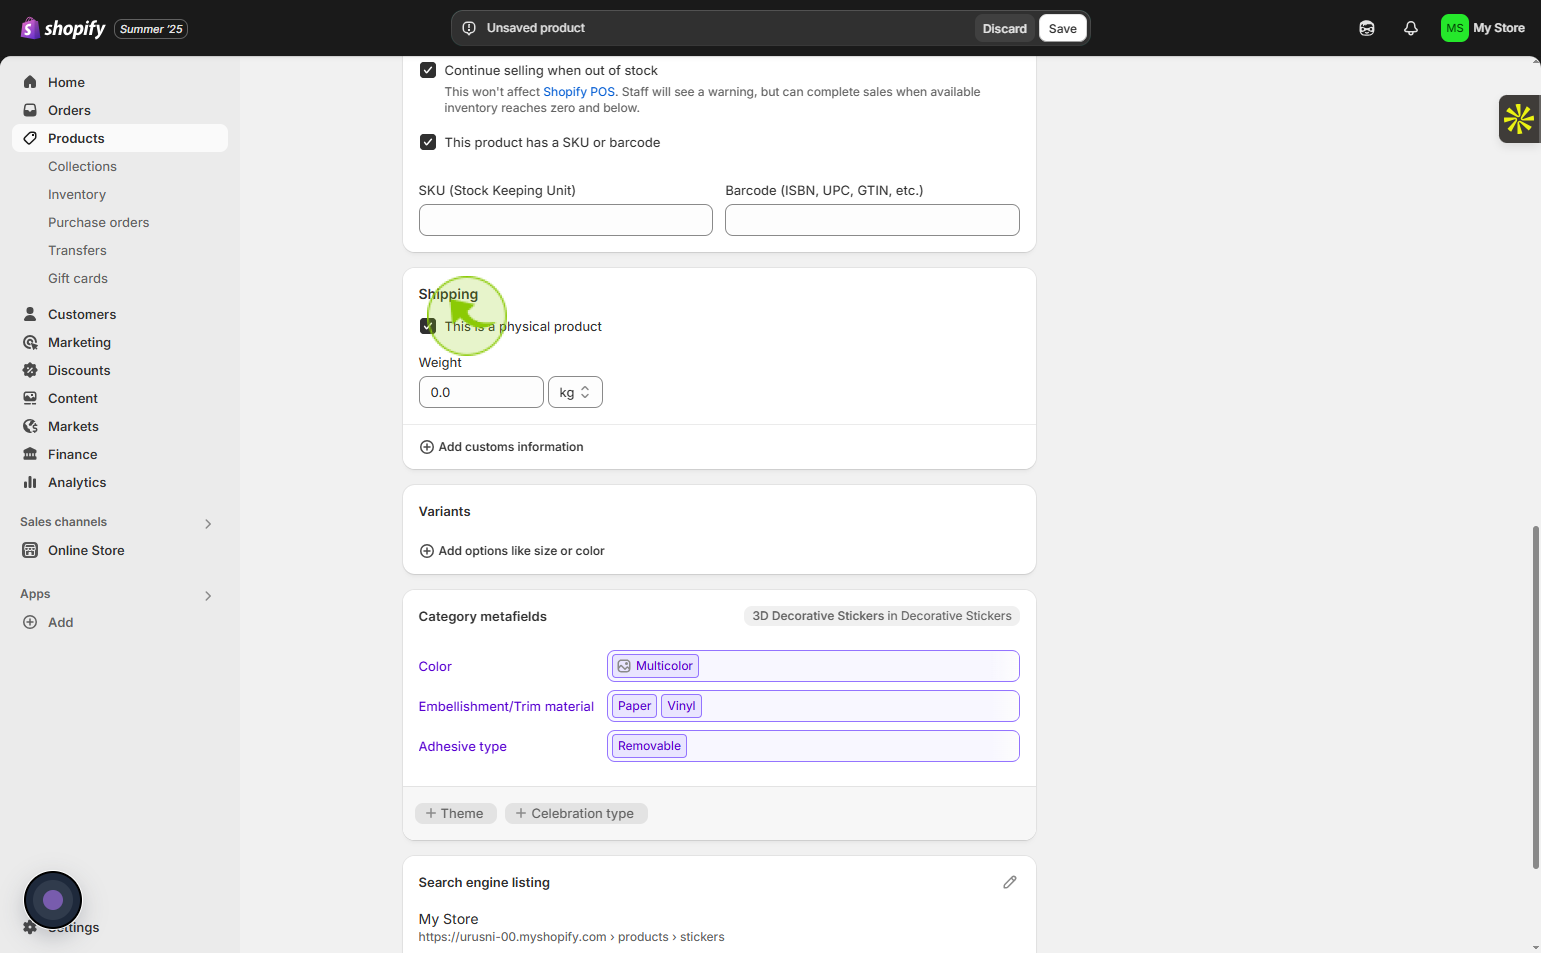
Click on the "Shipping"
Tab to manage shipping details such as weight, dimensions, and shipping methods.
14
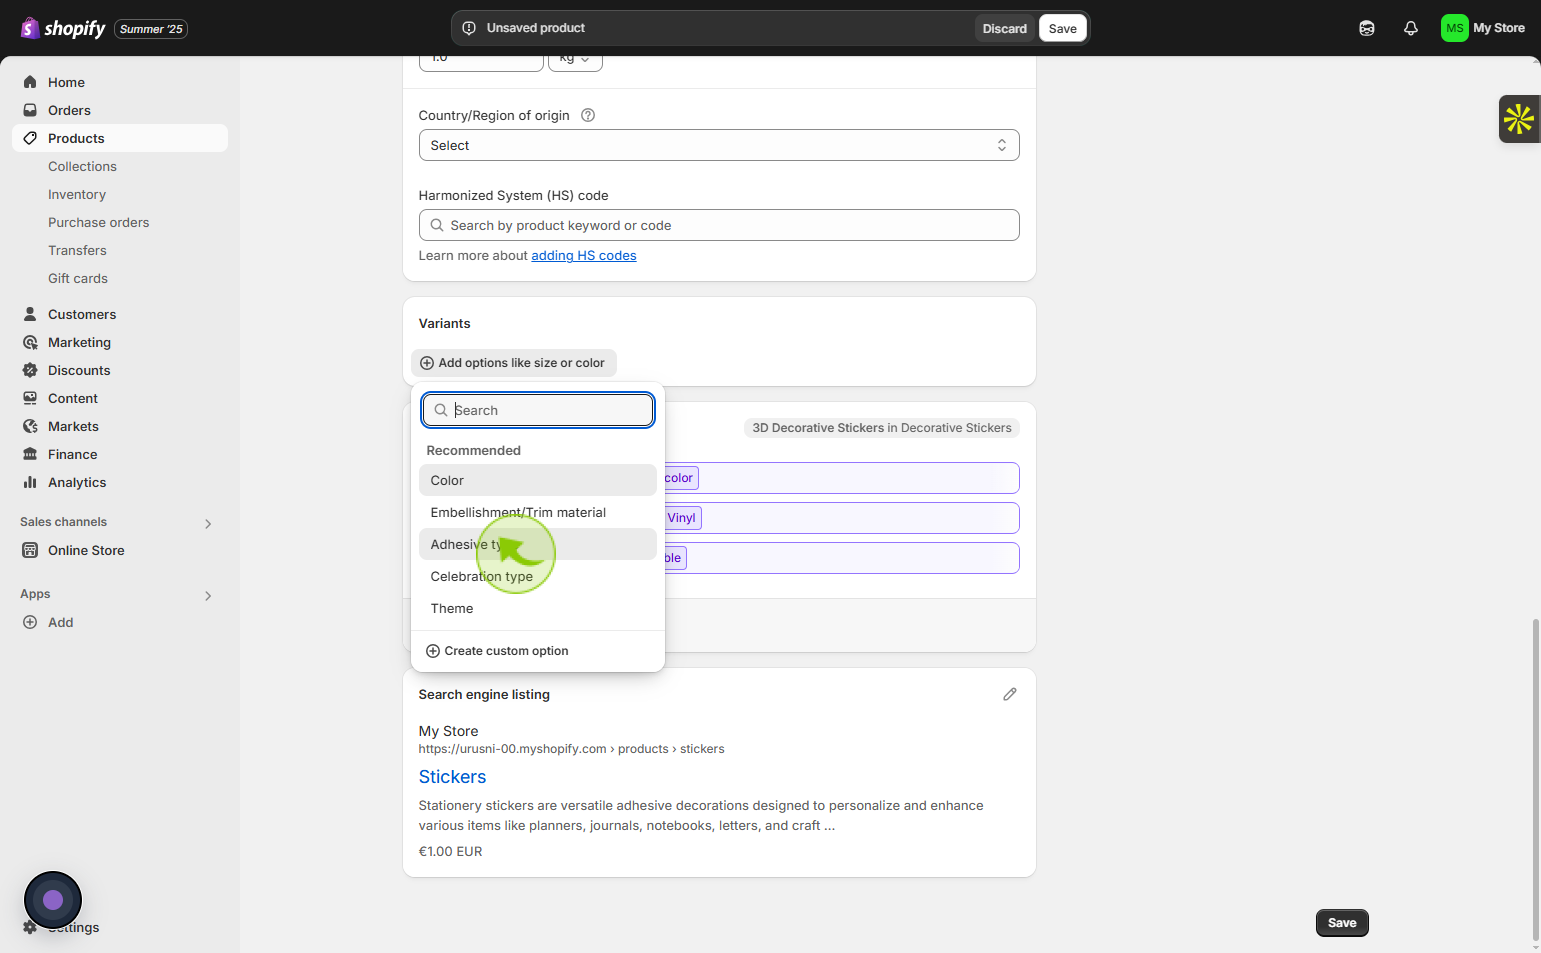
Click on the "Variants"
Section by clicking the heading to modify product options like size or color.
15
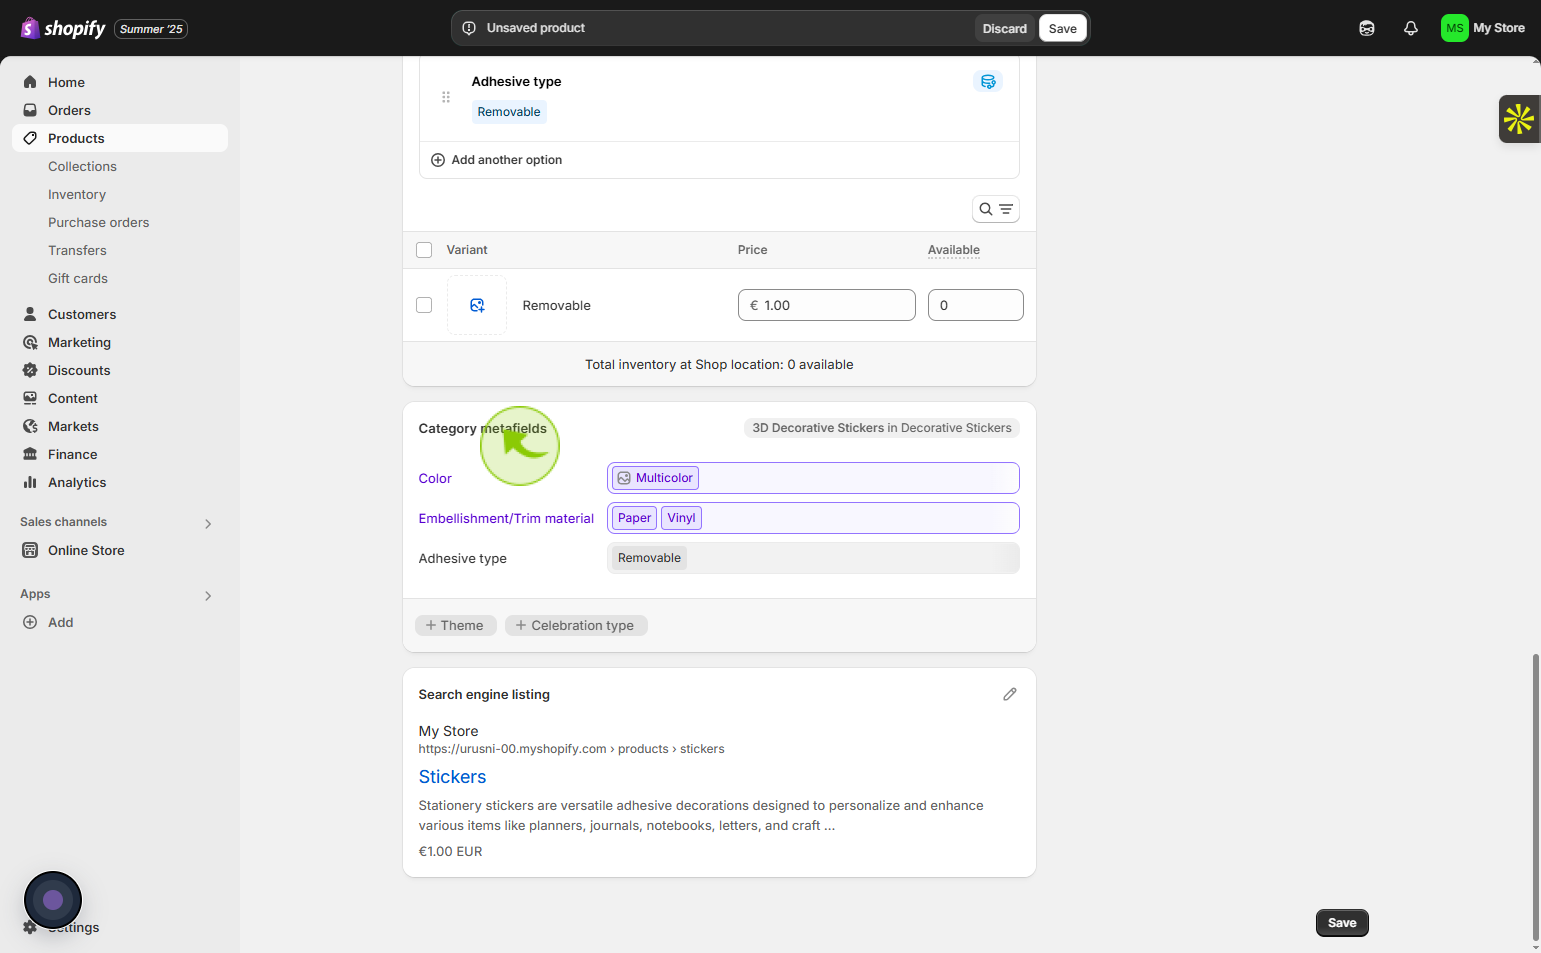
Click on the "Category metafields"
Access the Category metafields section by clicking on it in your Shopify dashboard, allowing you to add specific attributes and information to your product categories.
16
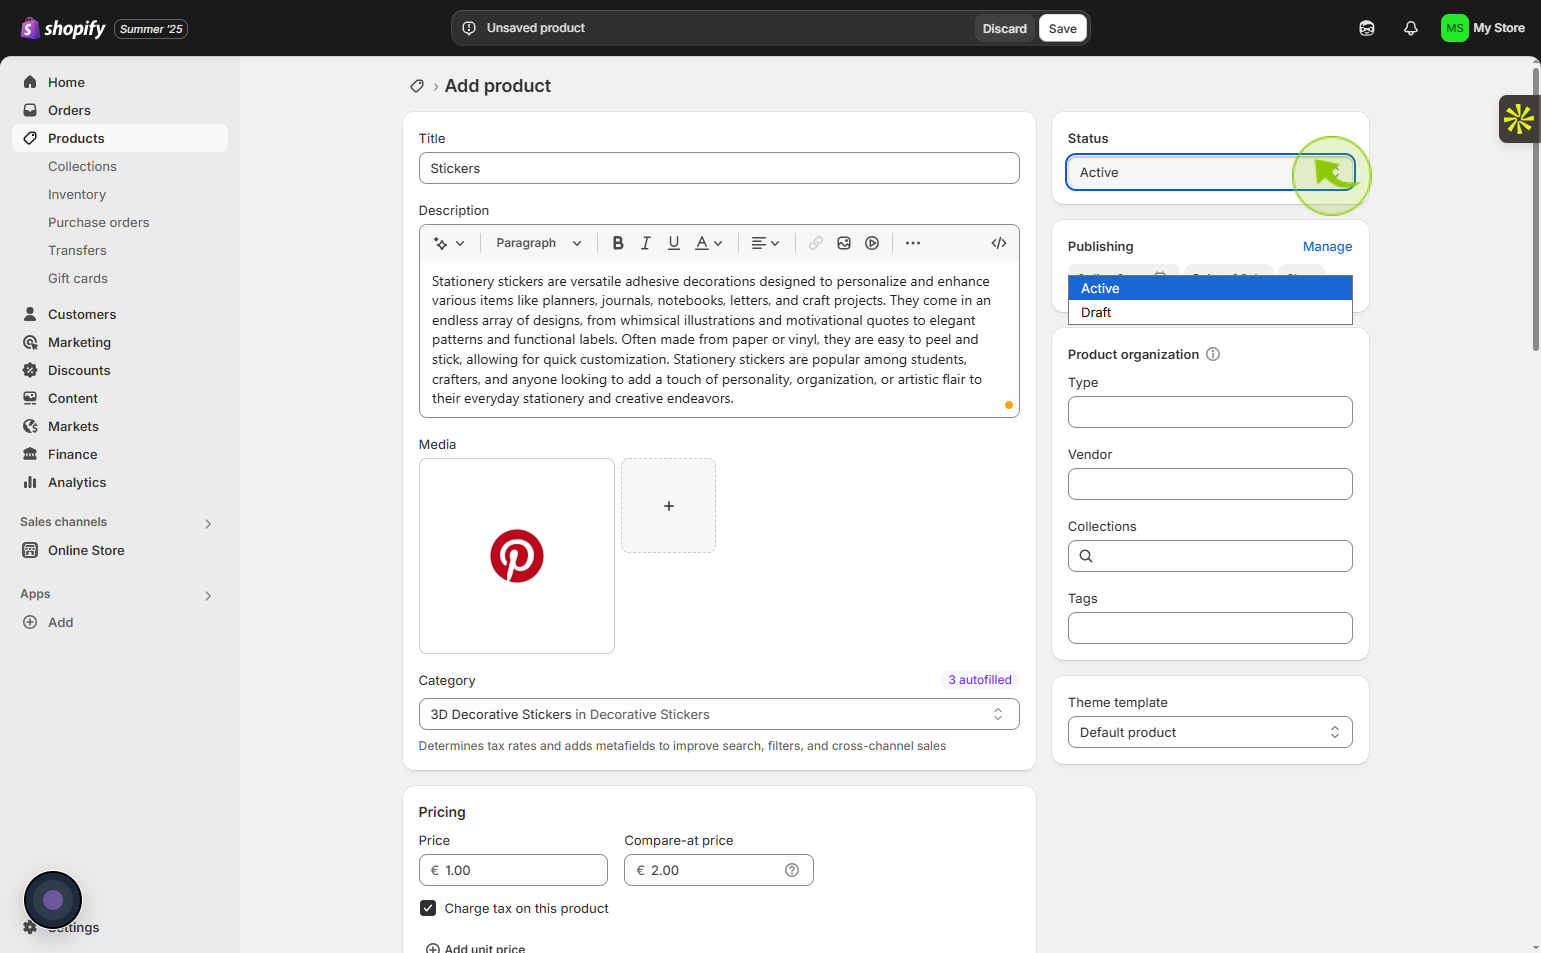
Click on the status
Select whether the status is active or inactive.
17
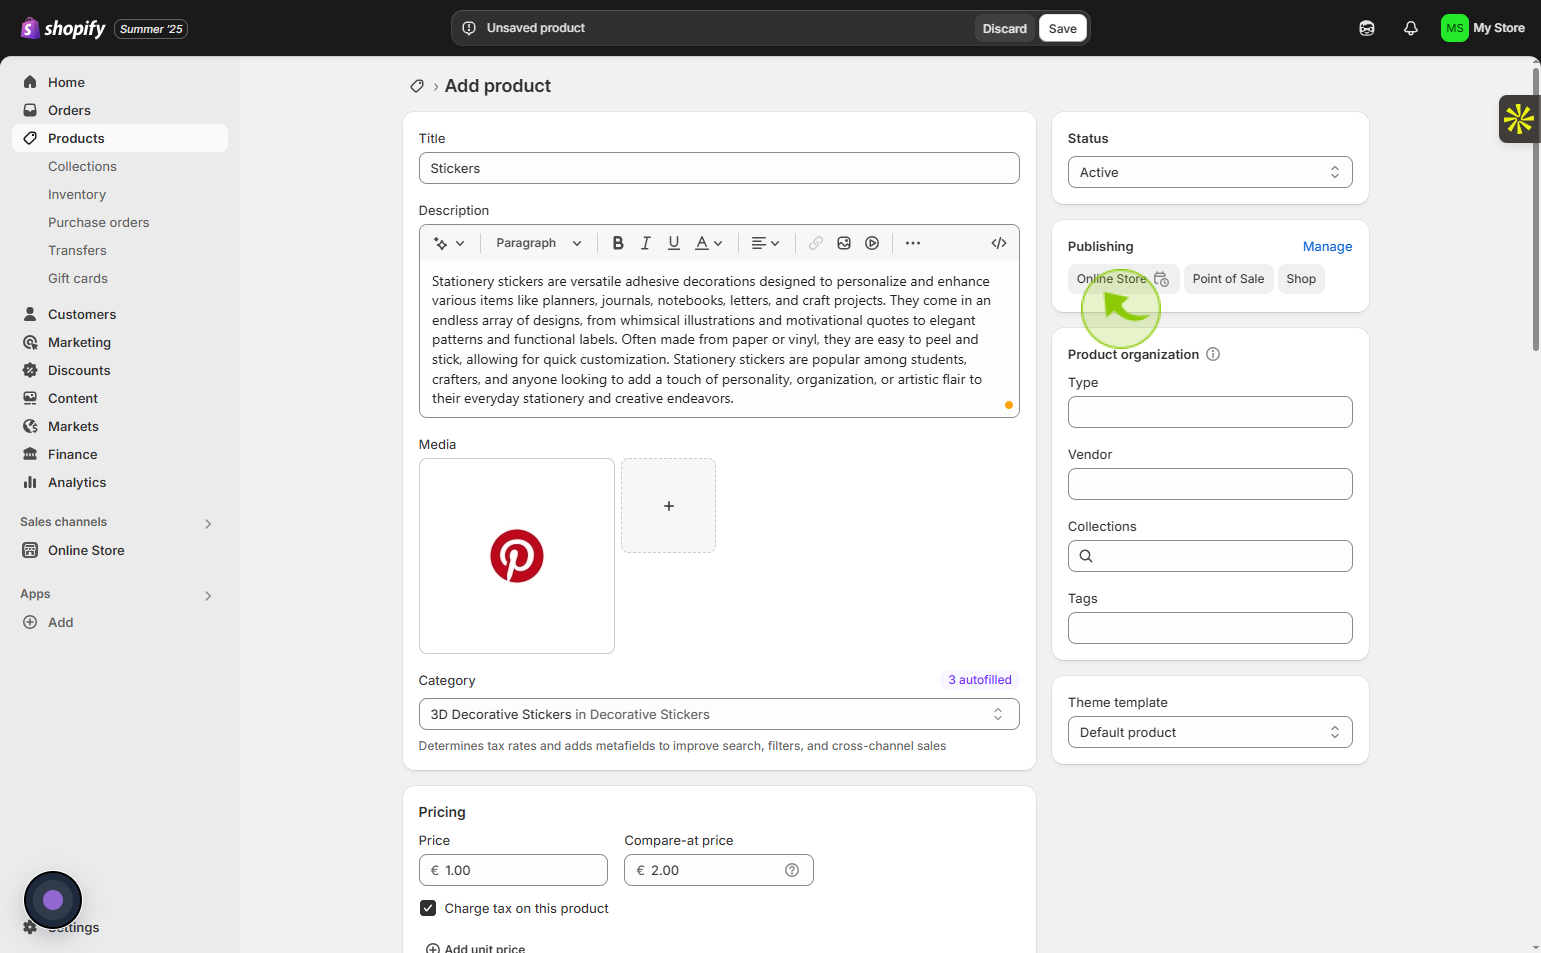
Click on the "Publishing"
To manage your shop’s publishing and sales settings, simply choose the desired option.
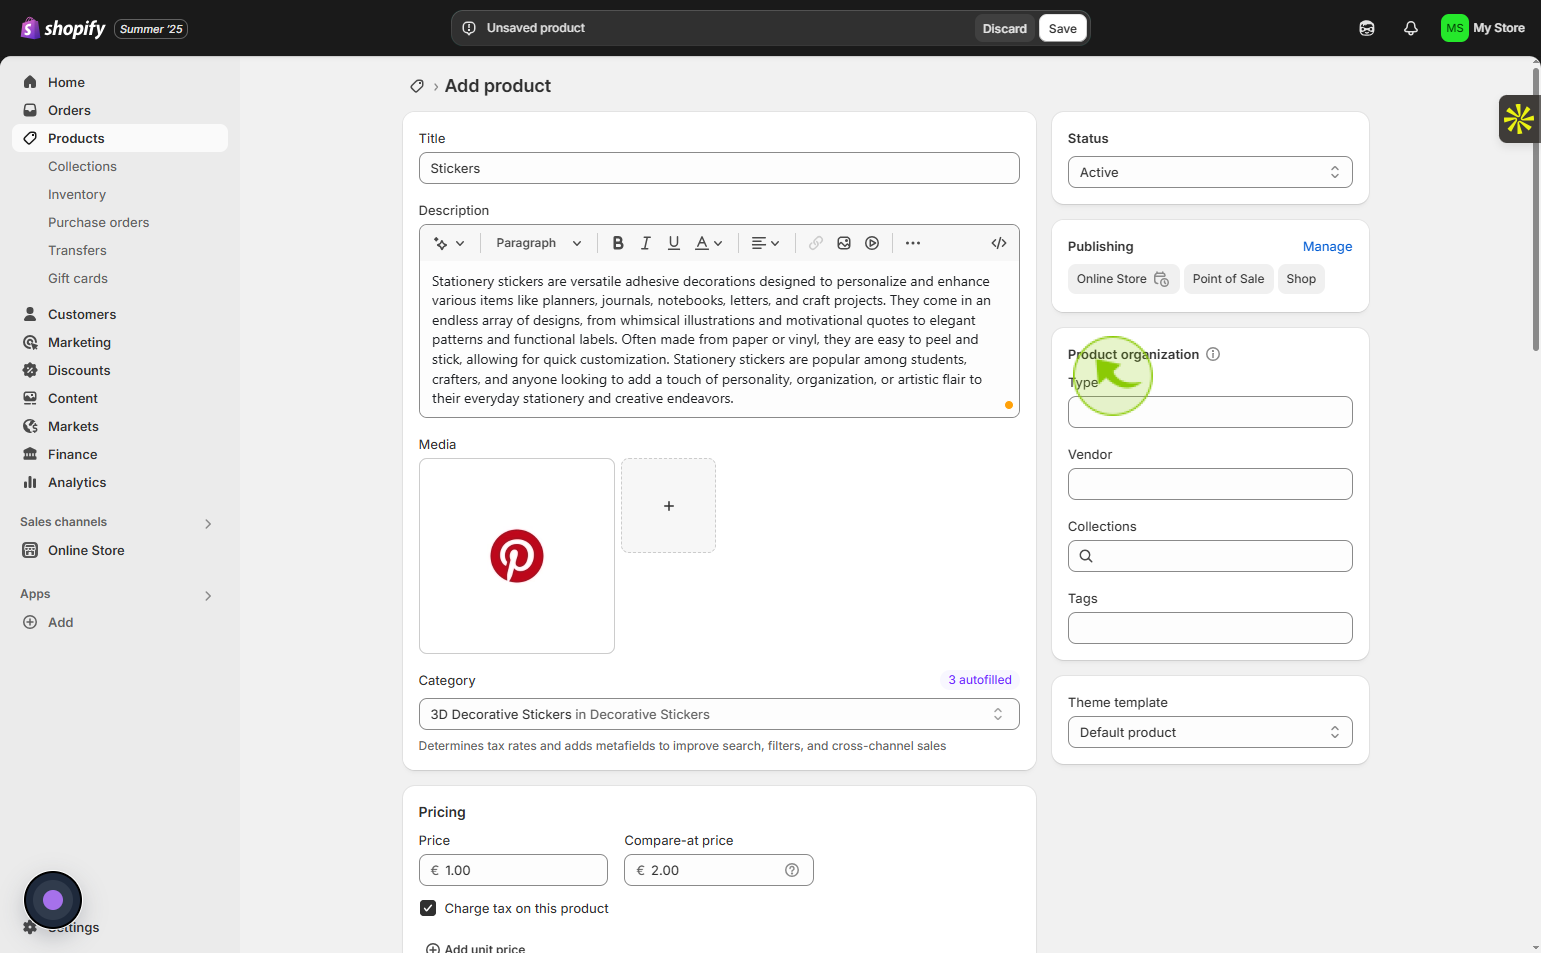
18
Click on the "Product organization"
Option to arrange products by group and order for better management.
19
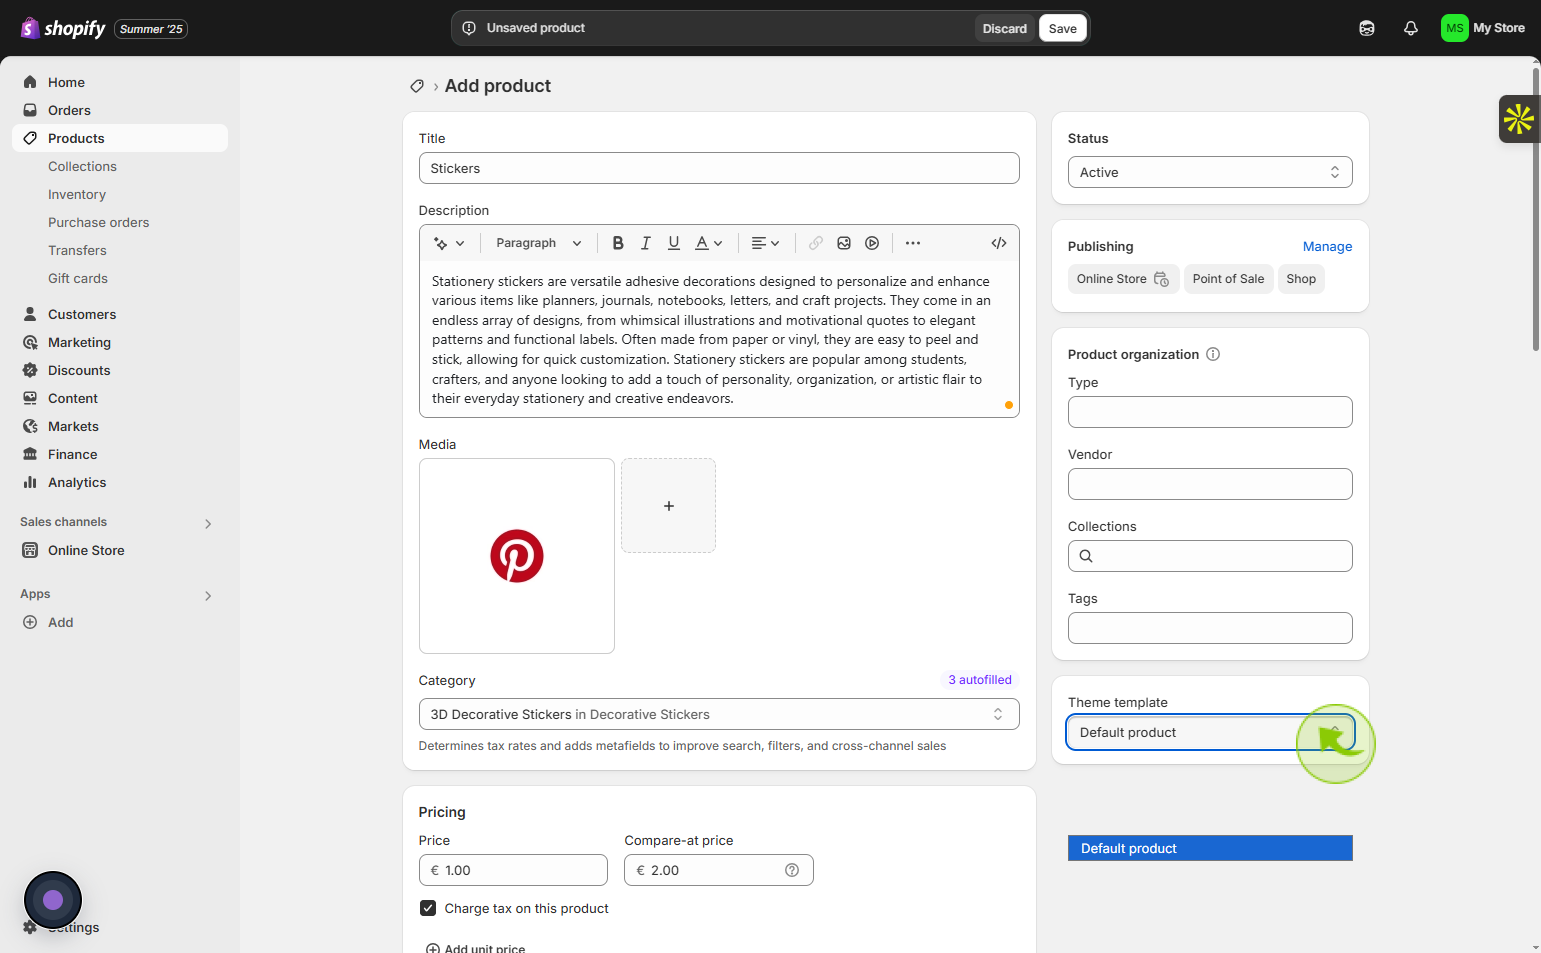
Click on the "Theme template"
Tap the Theme template field to pick a design style.
20
Click on the "Save"
Click Save to complete and save your work.