How to Host a Blooket Game?
|
 Blooket
|
Blooket
|
6 days ago
|
13 Steps
Ready to bring some engaging fun to your classroom or virtual gathering? This guide illuminates the simple steps to host a Blooket game! Learn how to navigate the Blooket platform, choose from a variety of exciting game modes like Gold Quest or Tower Defense, and customize your game settings. Discover how to select question sets, adjust time limits, and generate a unique game ID for your participants to join. Get ready to facilitate an interactive and educational experience that your audience will love, making learning a thrilling adventure with Blooket!
How to Host a Blooket Game?
|
Blooket
|
13 Steps

1
Go to Google, search for “Blooket,” and log in to your account. Once you're in, navigate to the “My Sets” section to access and manage your quiz sets.
2
Click on "My Sets"
Choose your own quiz set to host, or explore and use sets created by other users in the Discover section

3
Click on "Discover"
When you click on "Discover," all the sets created by other users are displayed. You can pick one to host or search for a specific topic
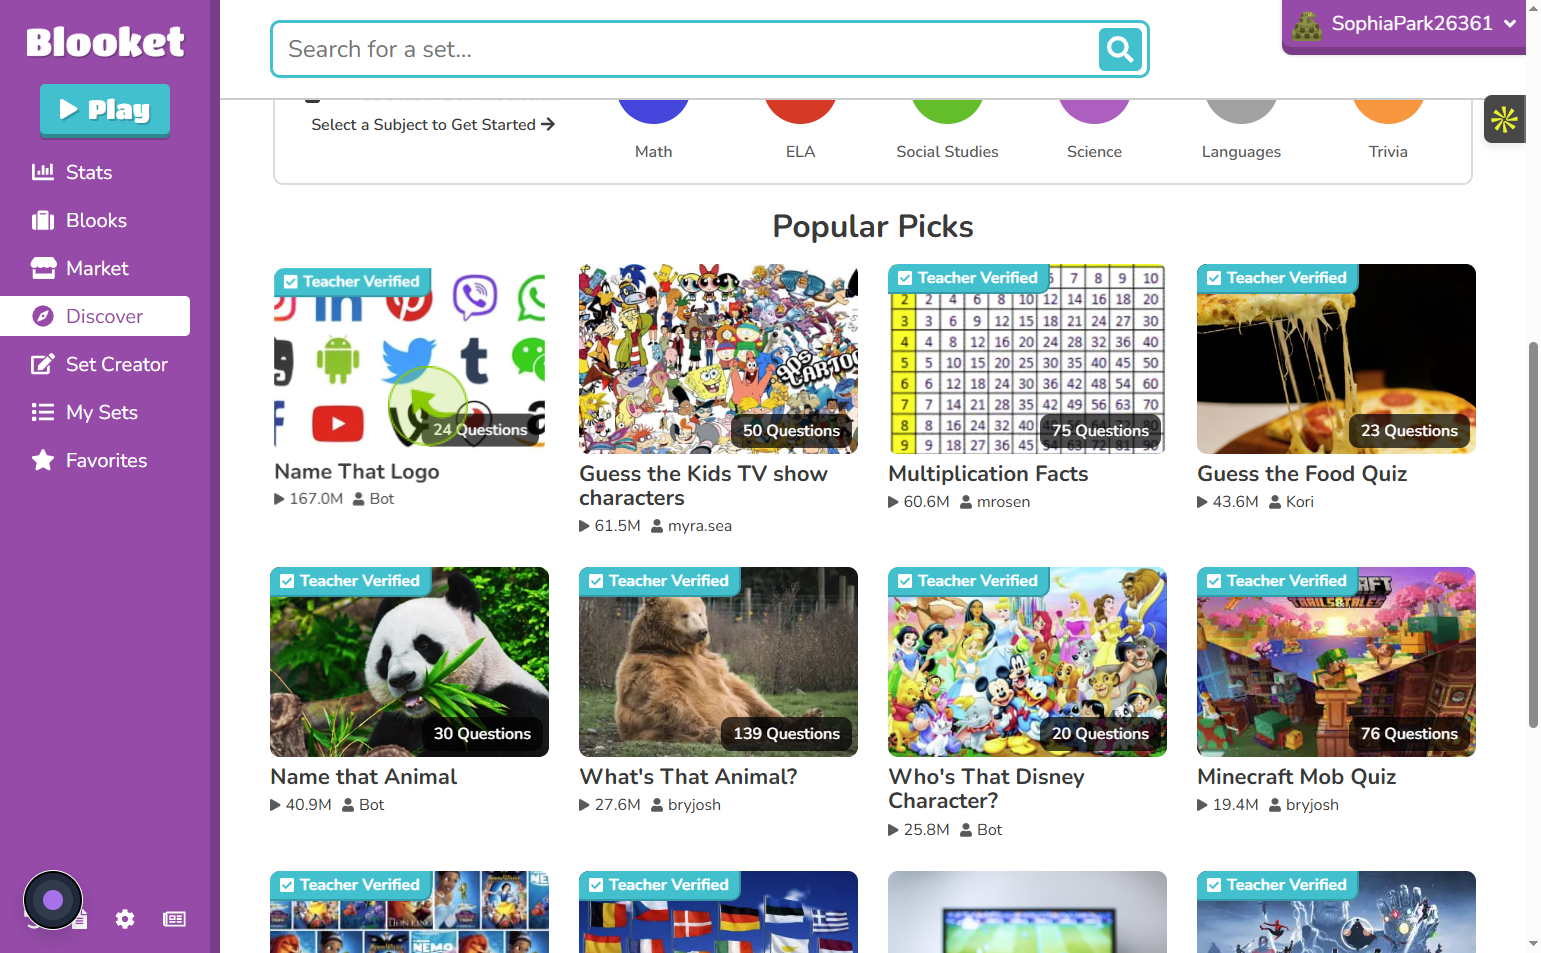
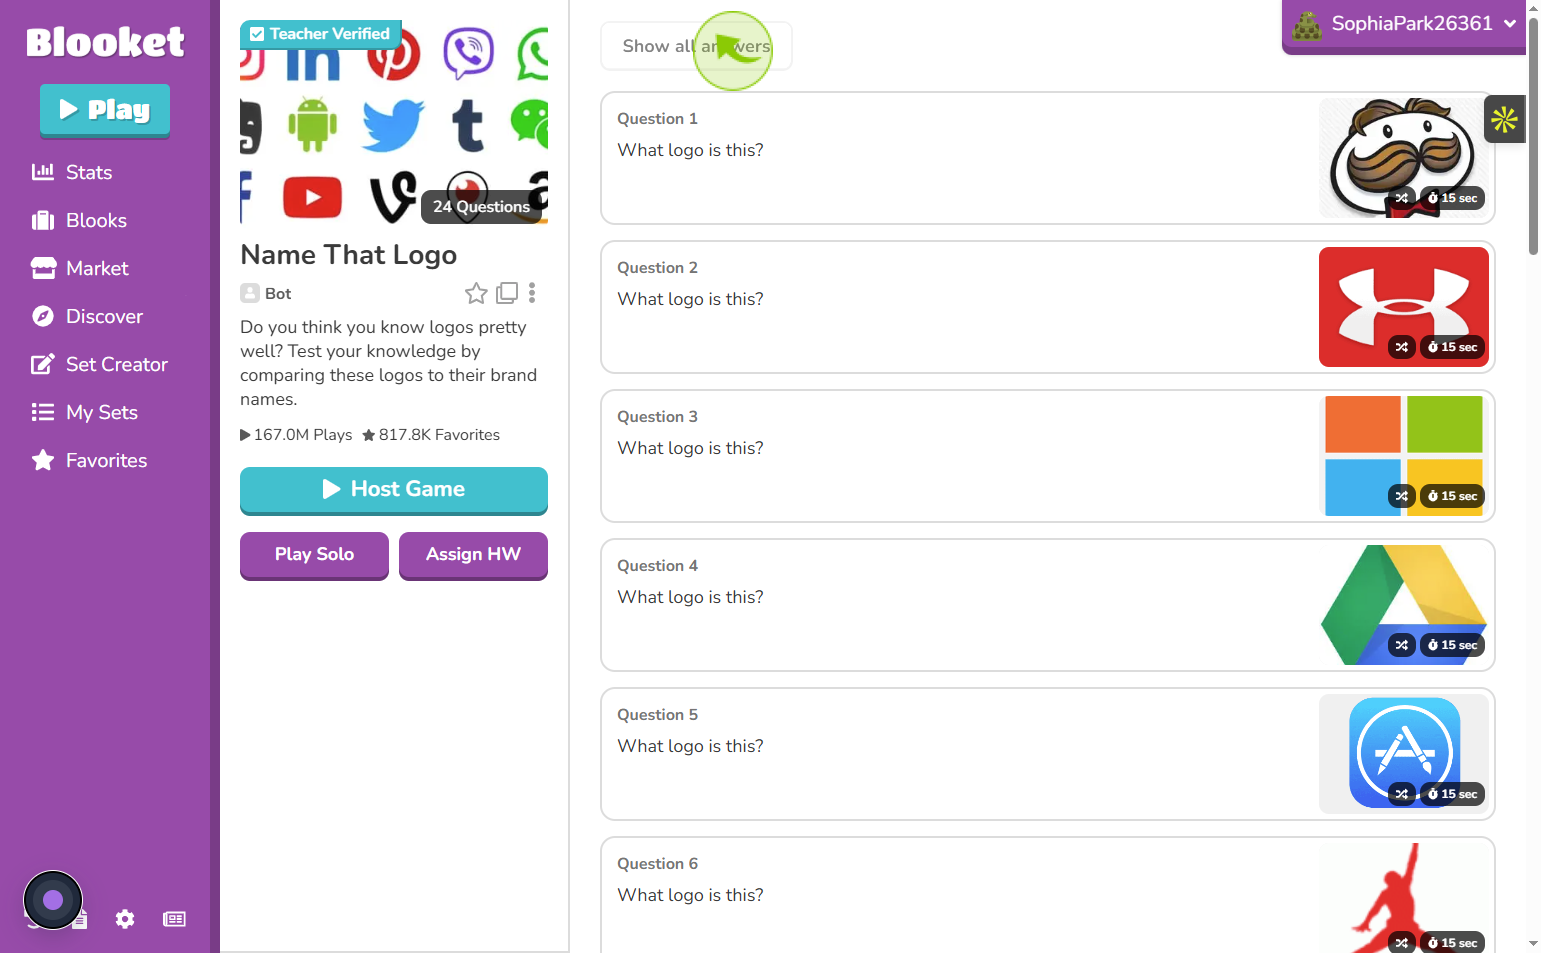
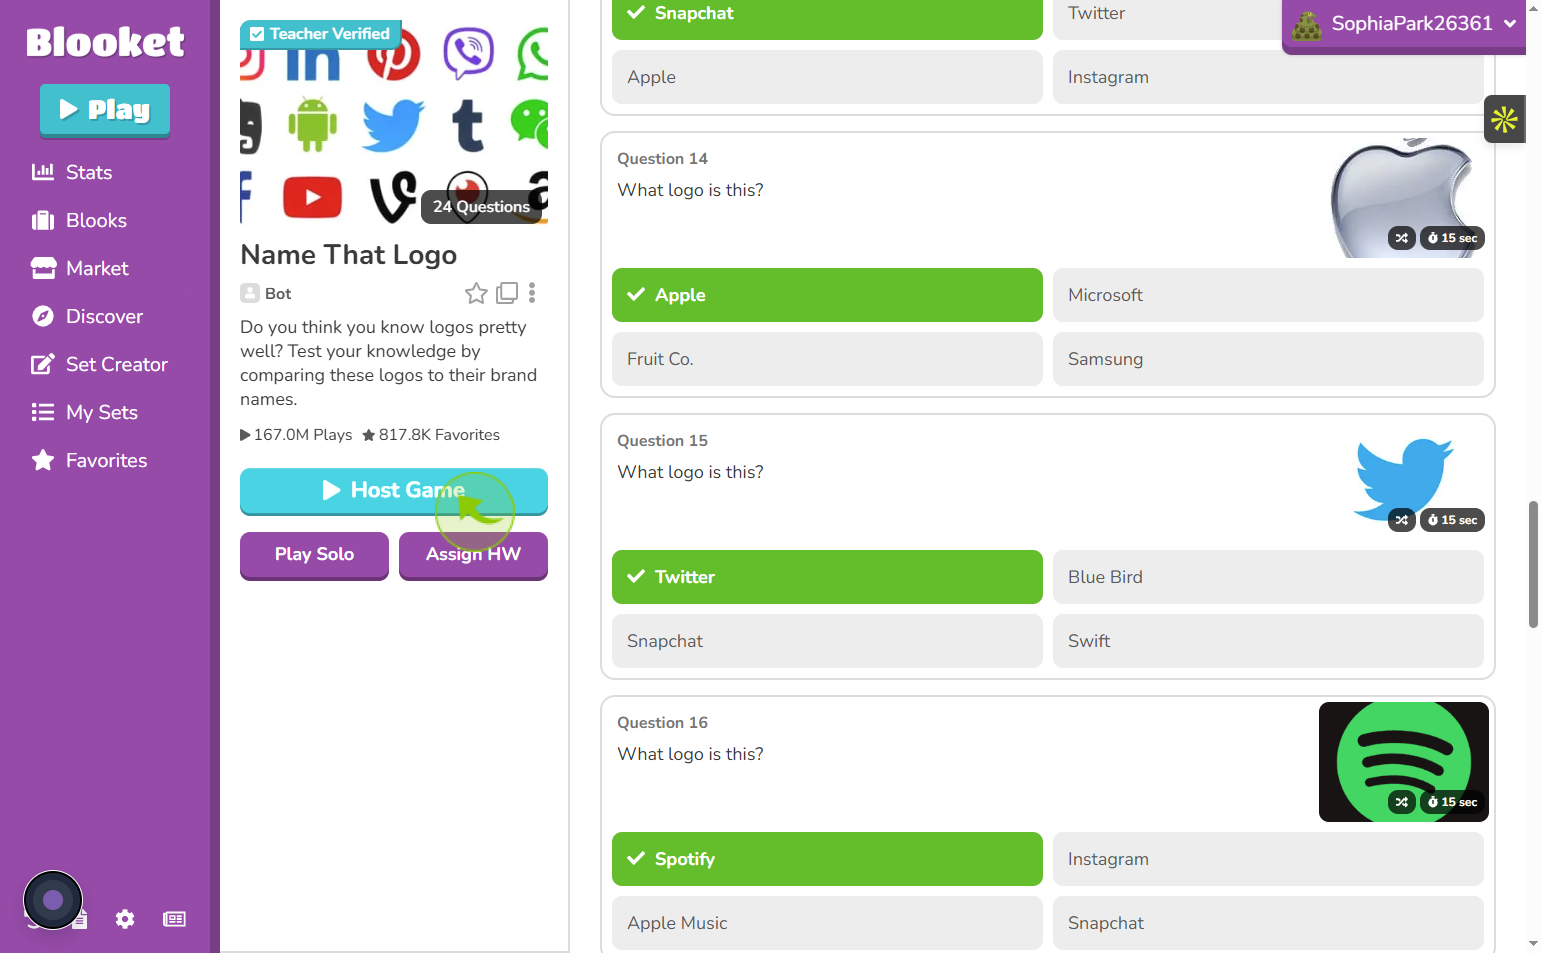
4
"Select a Quiz Set"
After selecting a quiz set, click the "Show All Answers" button to view all the questions and their correct answers before hosting
5
Click on "Host Game"
You can host a live game for others to join, play the quiz solo for practice, or assign it as homework for players to complete on their own time
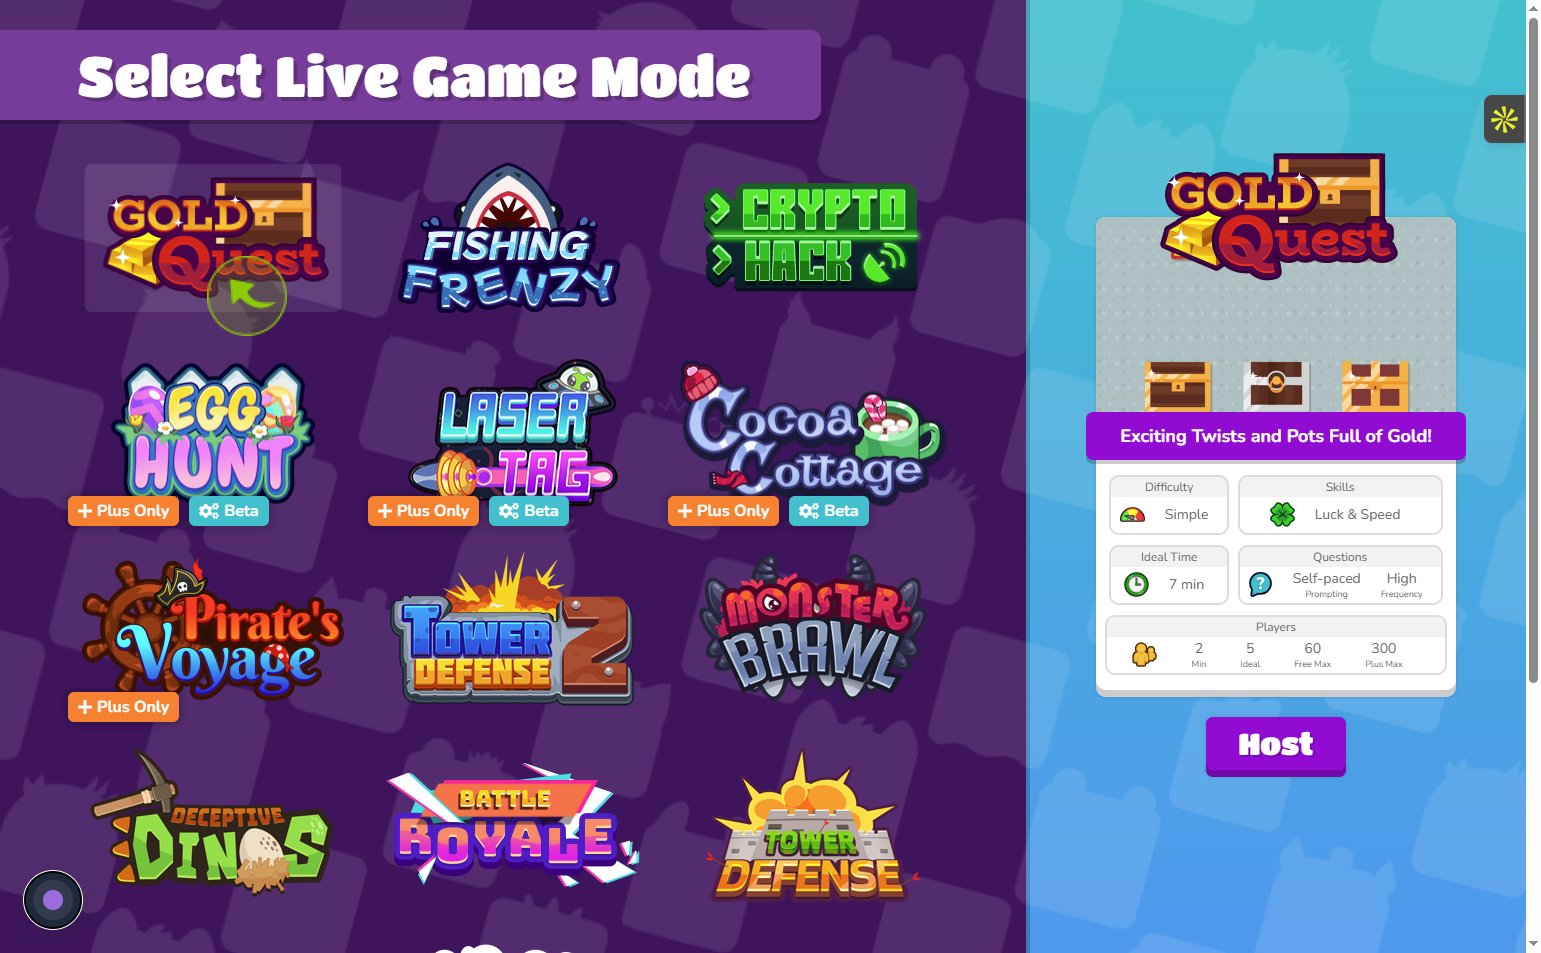
6
After clicking on "Host Game," you need to select a live game mode
Once you choose to host a game, Blooket will show you different live game modes, Pick the one that best fits your group and play style
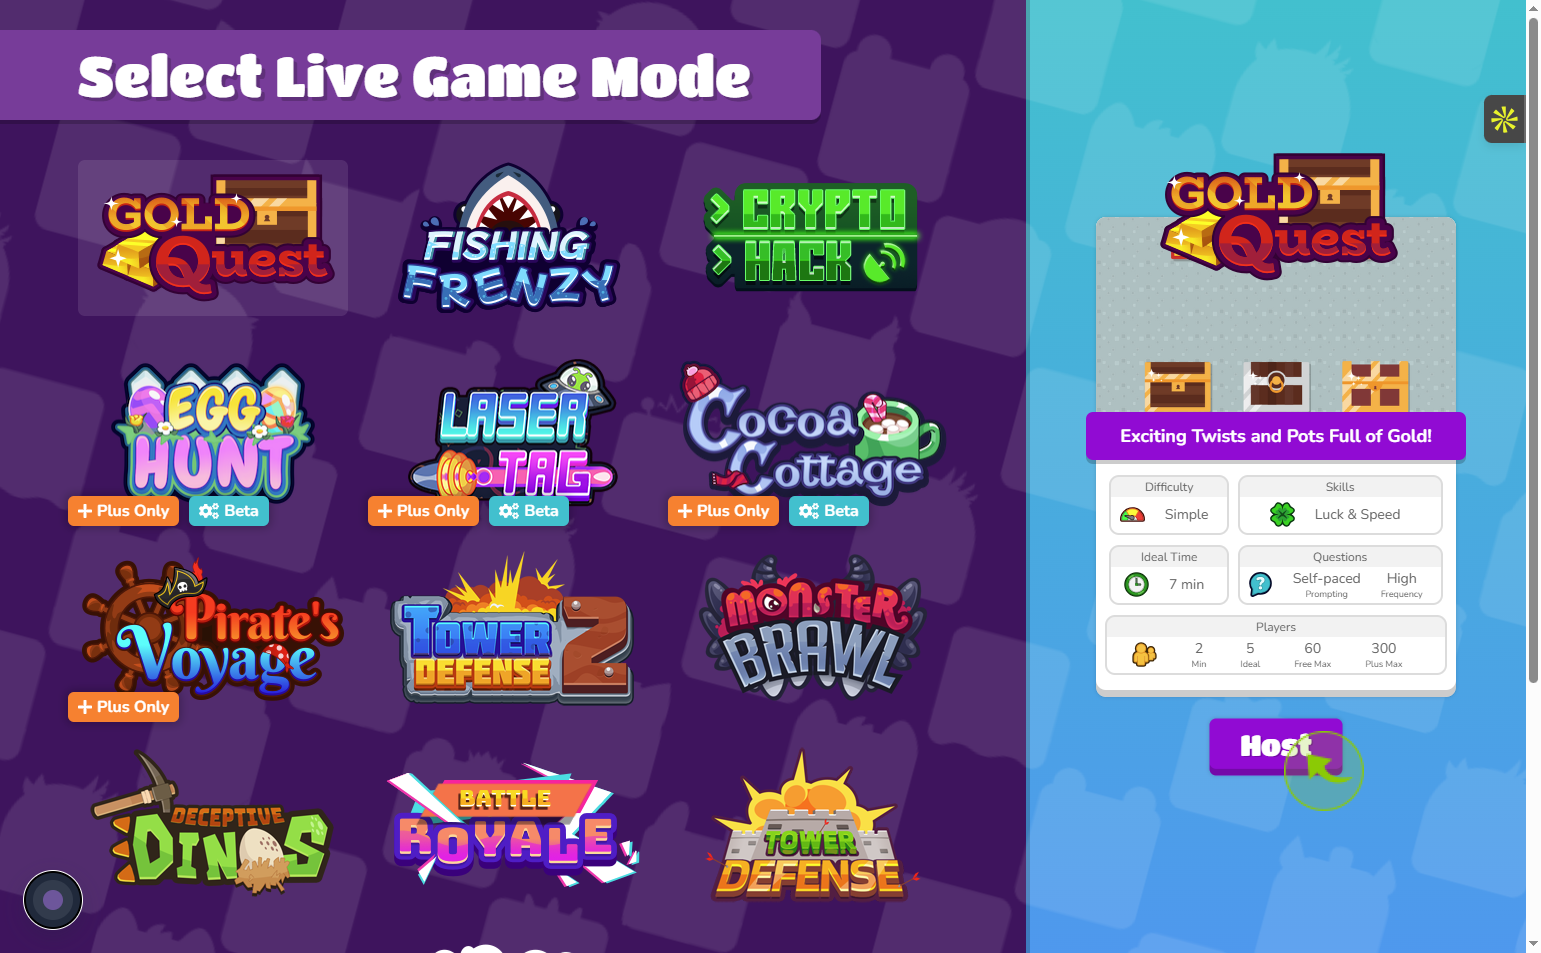
7
Click on "Host"
Pick your game mode and click "Host" to start the game and let players join
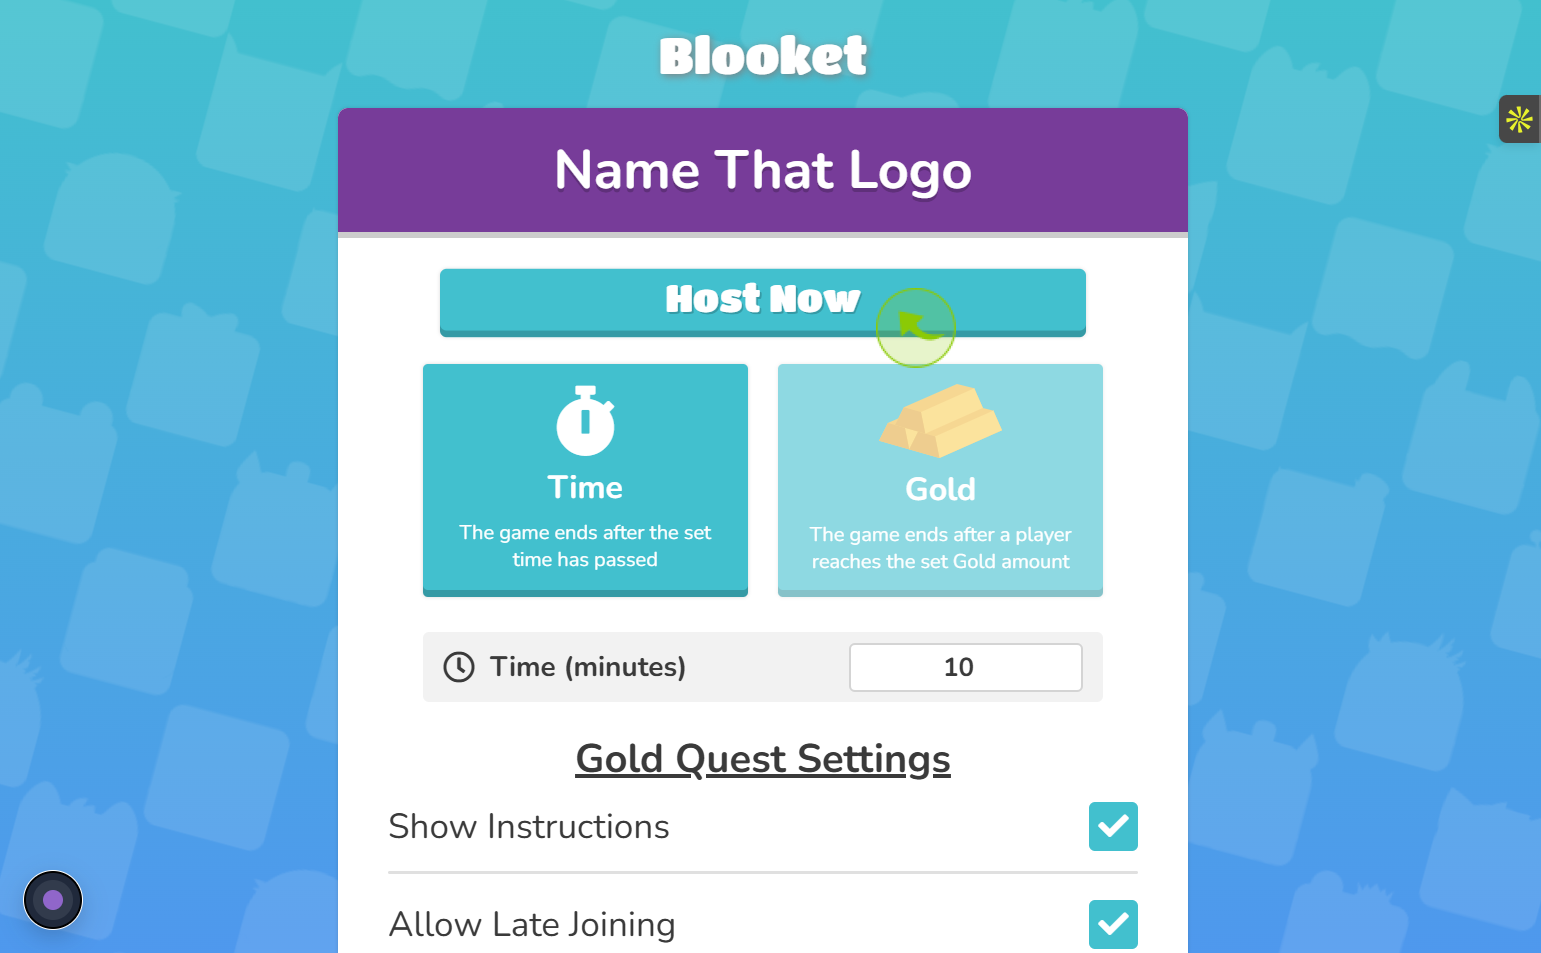
8
Click on "Host Now"
You can set the time for the game, deciding when it will end, or set a gold amount that a player needs to reach
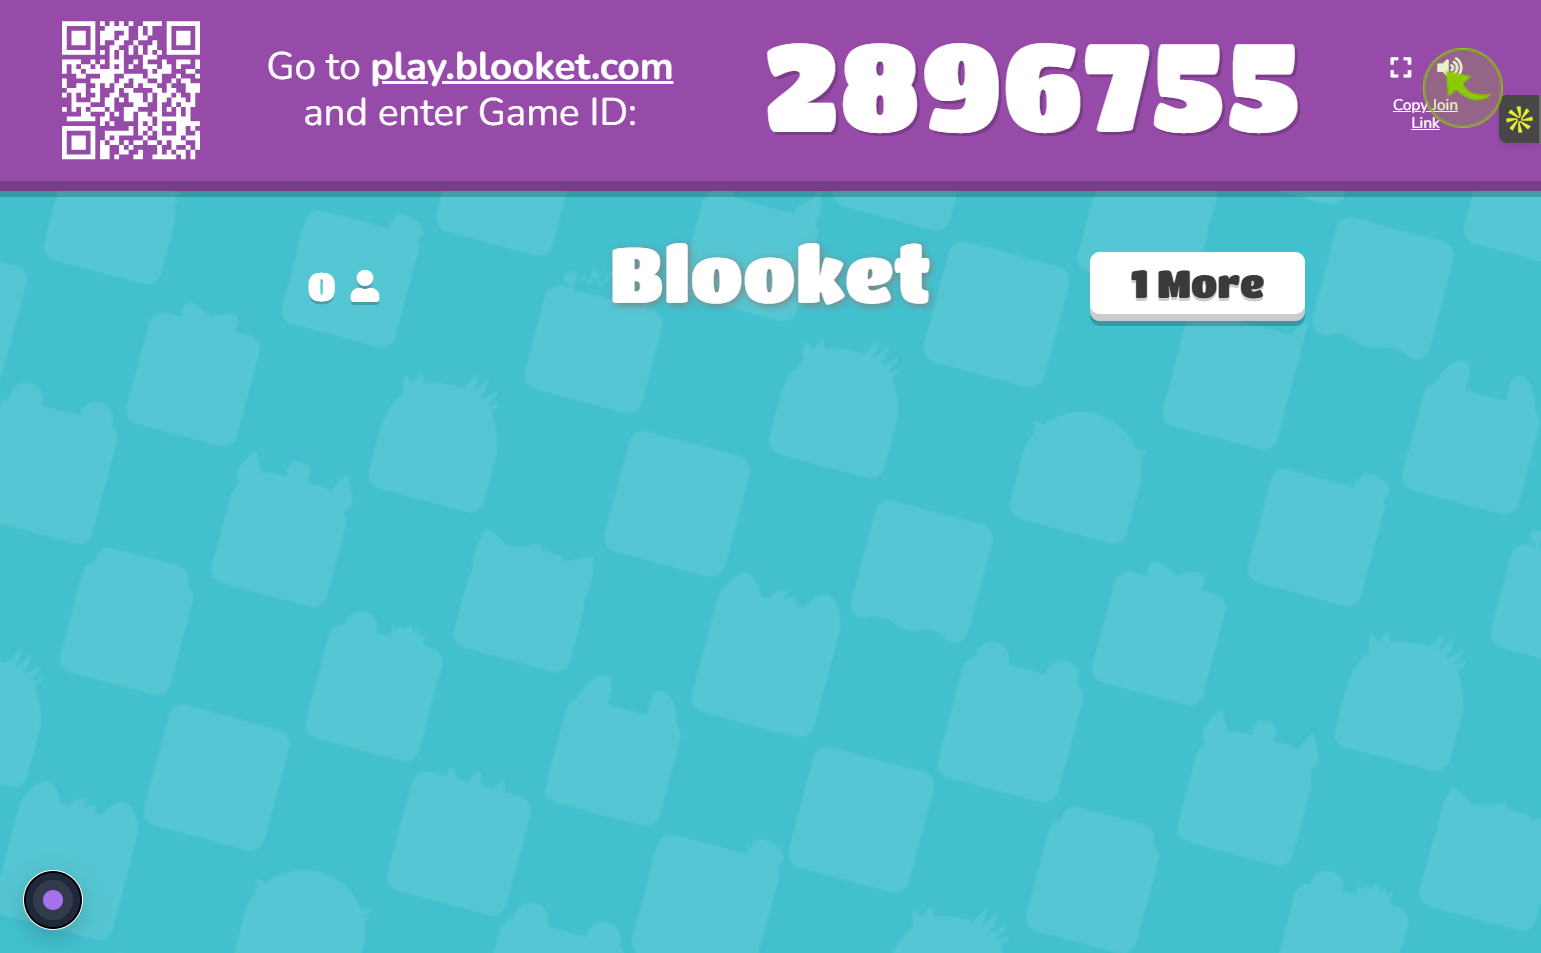
9
Click 'Host Now' to Start Hosting
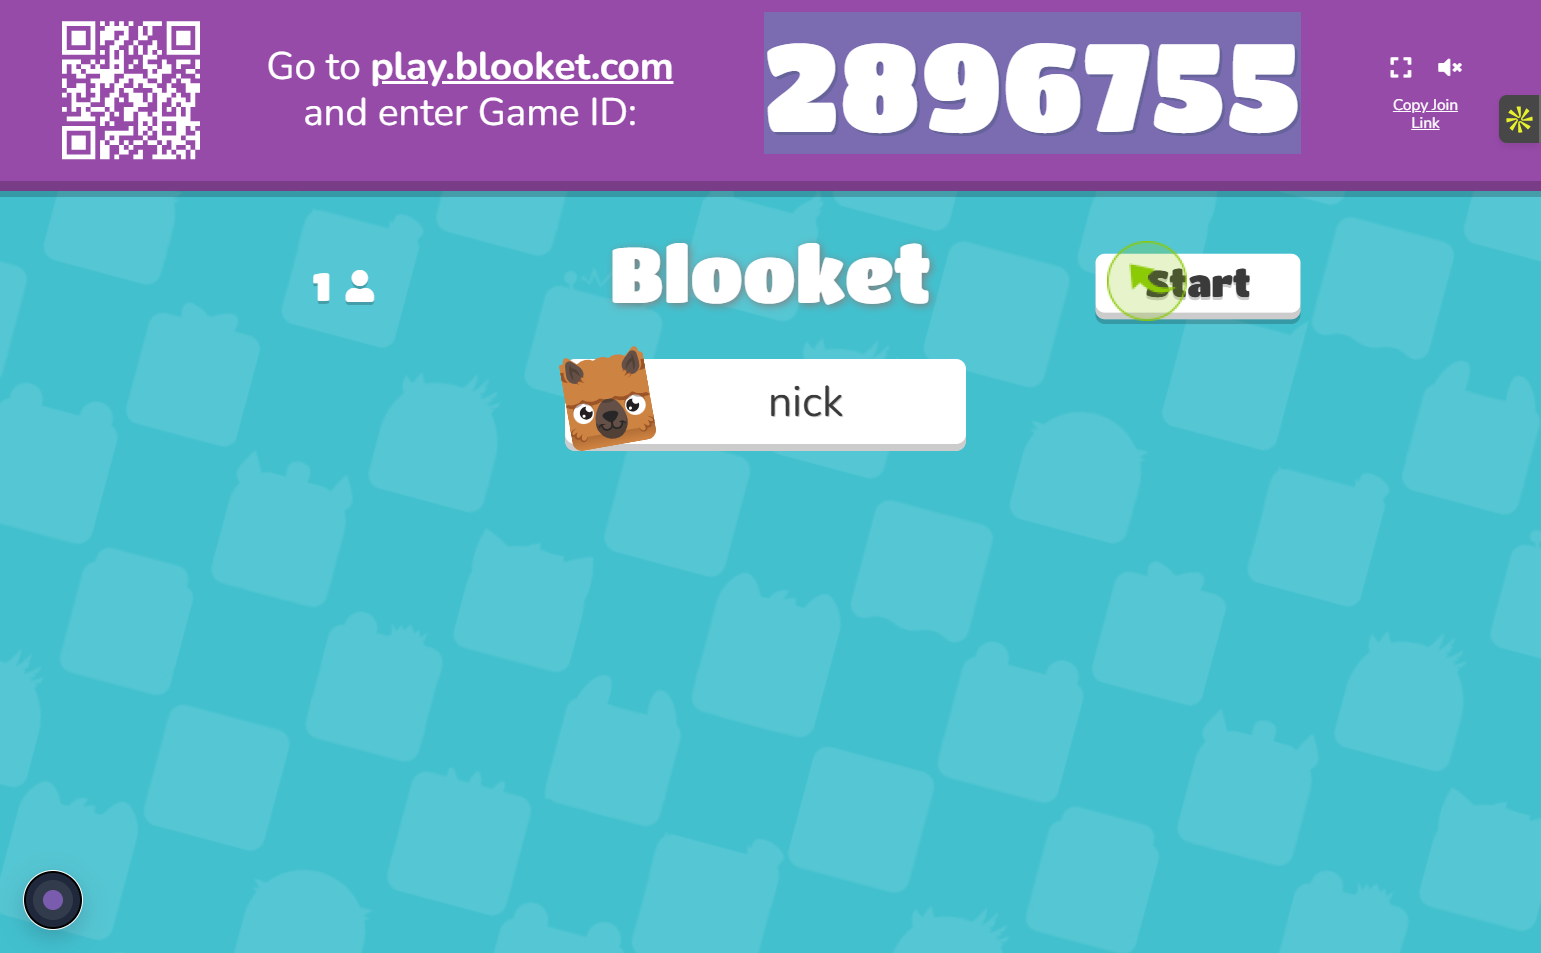
Once you click "Host Now," you'll see a QR code, link, and Game ID. Share one of these with players so they can join the game
10
Click on "Start"
When players join using the Game ID, their nicknames show up on the host’s screen.
The host waits for everyone to join, then clicks "Start" to begin the game
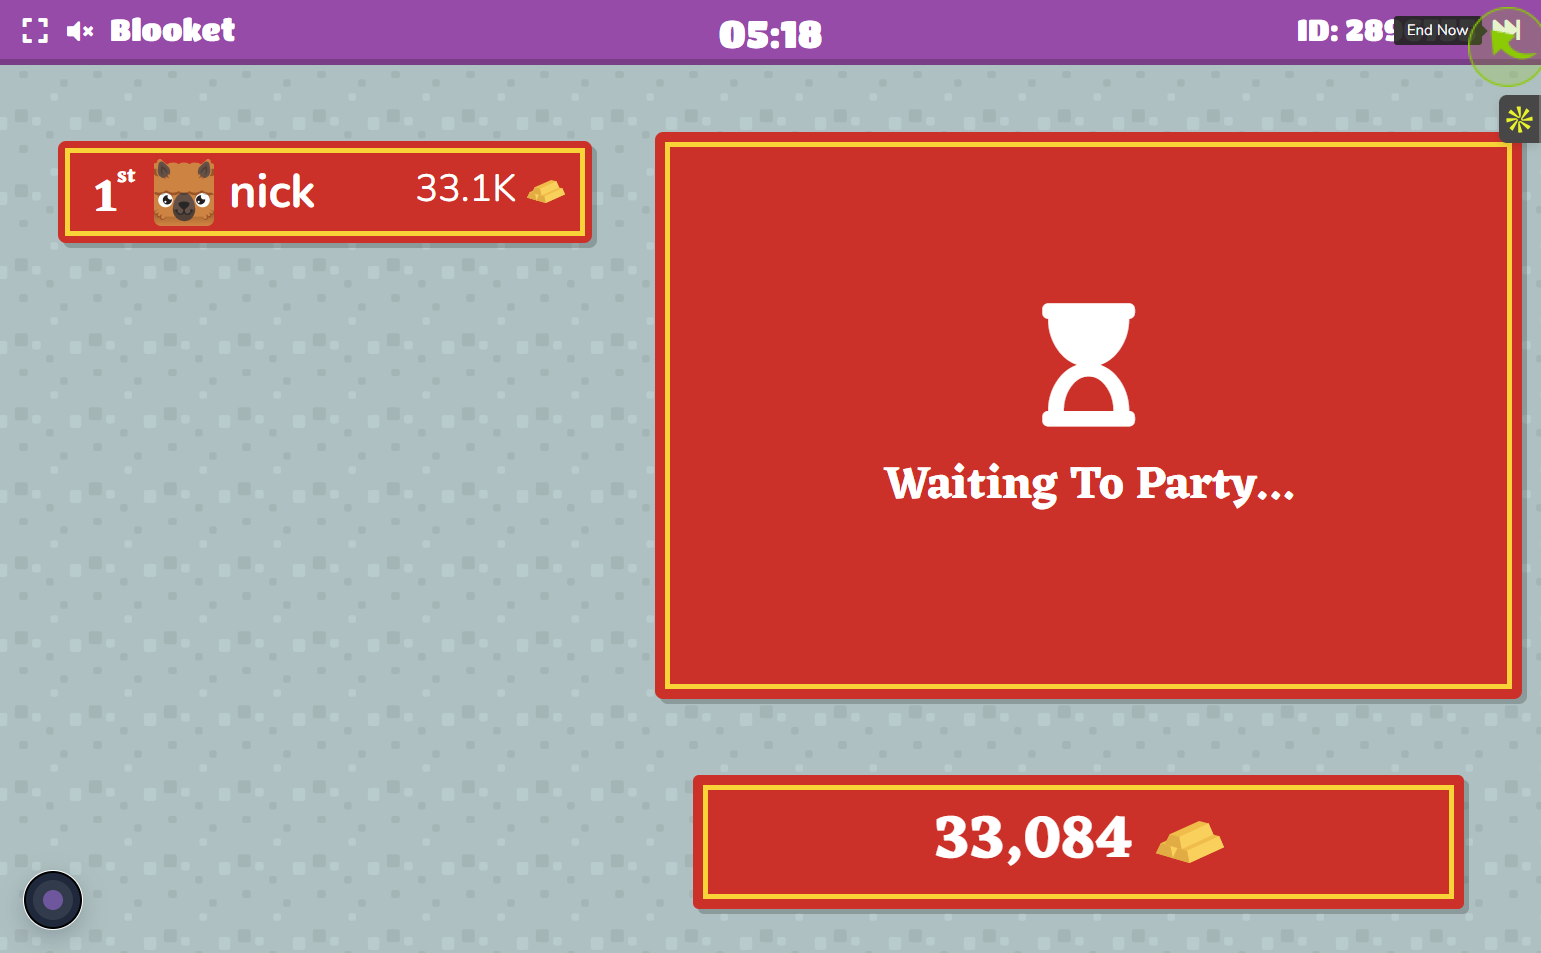
11
"Click on Icon to End the Hosting!"
After starting the game, the host can monitor progress. To stop the game at any time, simply click the end icon in the top-right corner of the screen or it ends automatically when the timer runs out
12
Click "View Report"
The winning player is shown on the screen at the end of the game
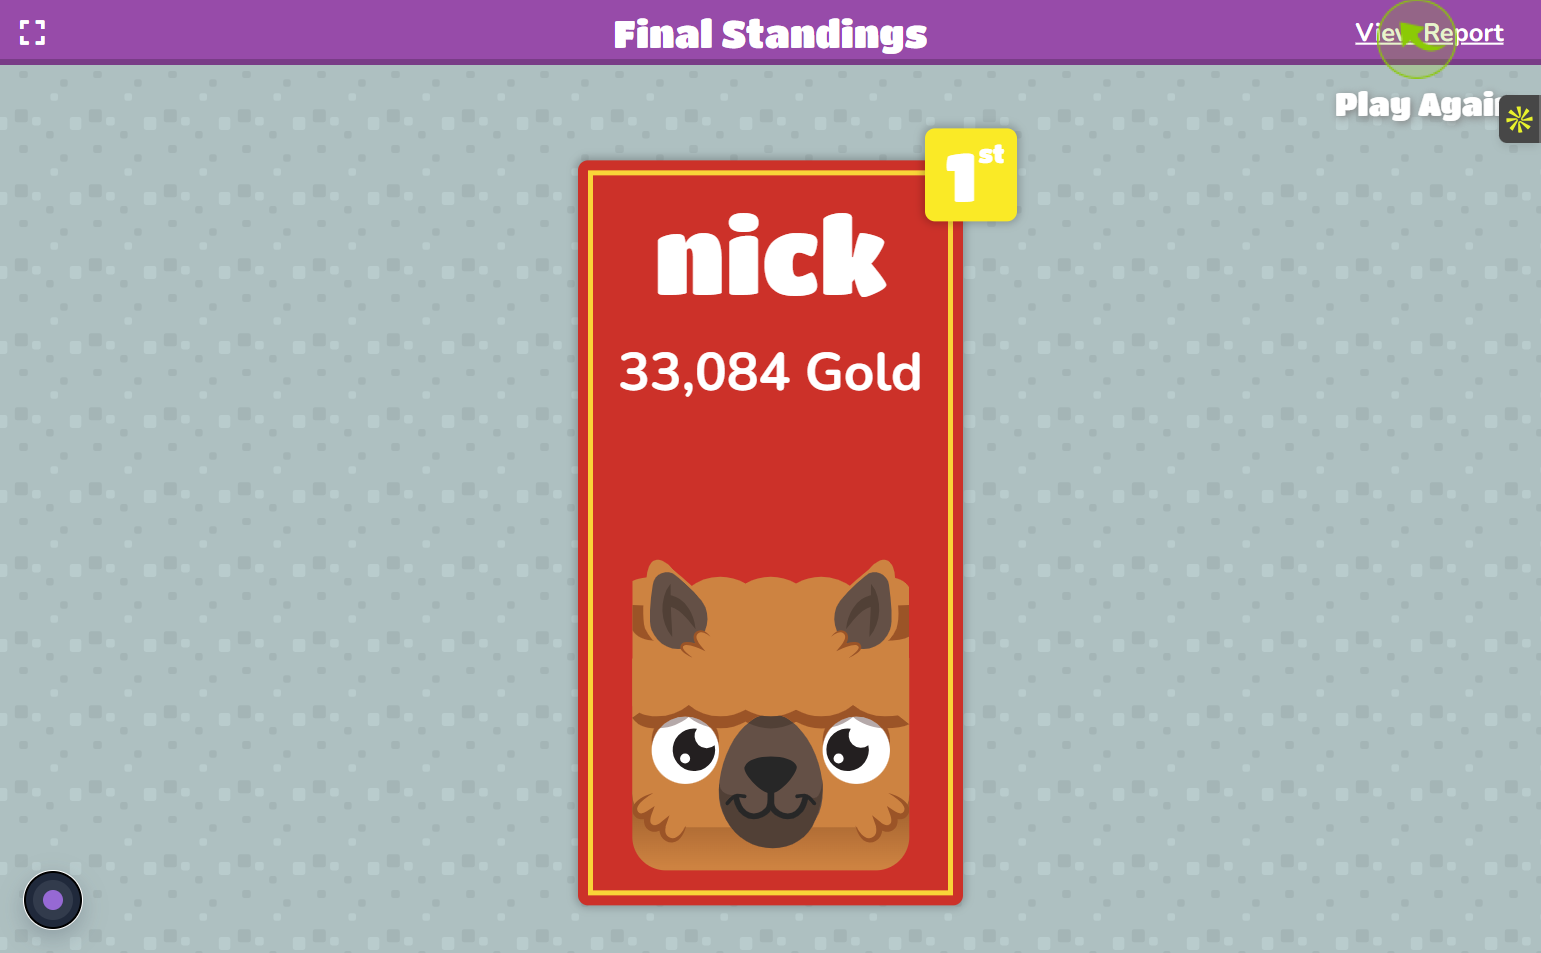
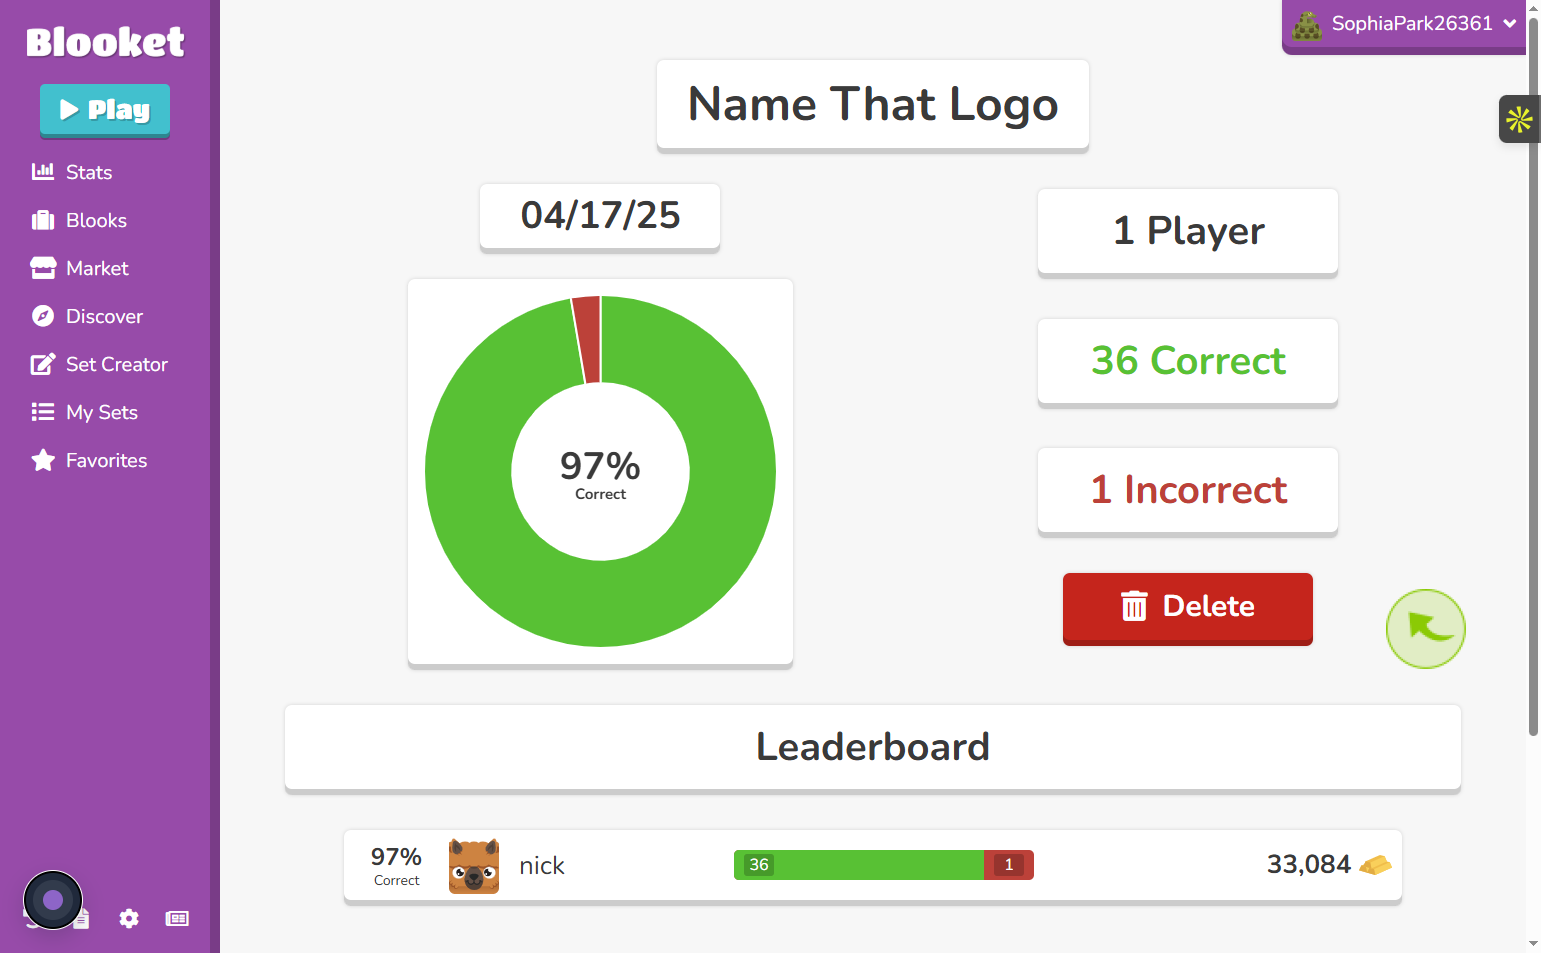
13
View the 'Leaderboard' Here
After the game ends, the leaderboard appears on the screen, showing the rankings of all players based on their performance